Intro#
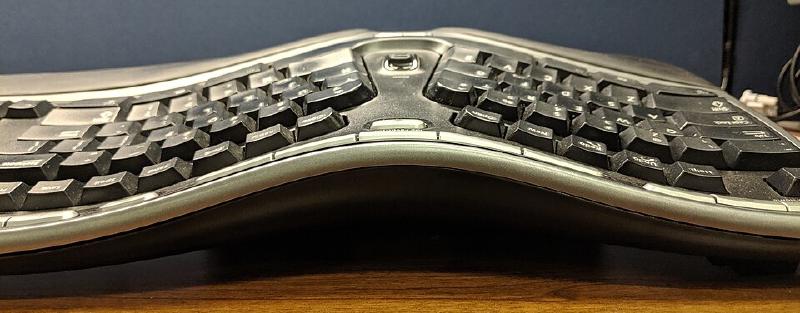
I’ve enjoyed playing fighting games for a long time, but my hands don’t always enjoy them as much as I do. Taking inspiration from tented keyboards that promise better ergonomics when typing, I decided to design a fightstick-style controller that would allow for a more natural hand angle in the same way.
This project was completed some time before putting this website together, but I will include the design process in retrospect as well as the files and bill of materials for anyone wanting to take inspiration from or recreate this project.
Design#
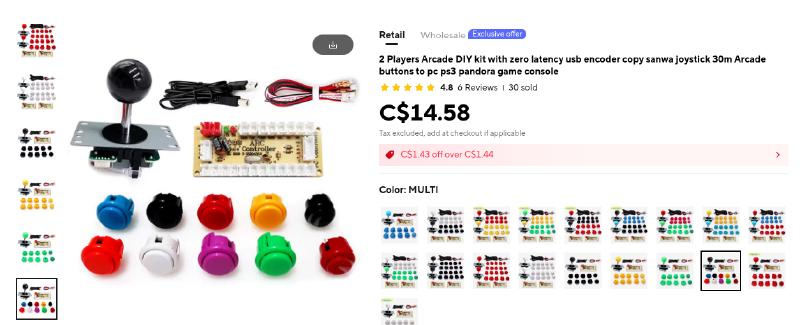
The plan was to design a 3D printed enclosure, then connect up some off the shelf components that would plug and play for PC gaming. To dip my feet in, I first decided to use this cheap electronics set
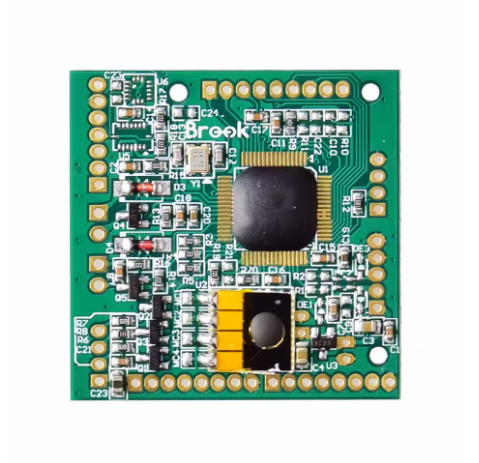
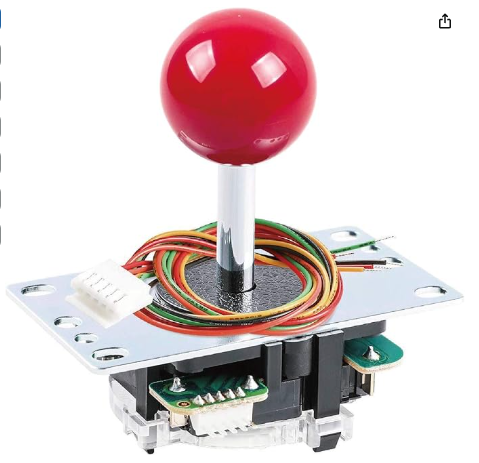
But I wasn’t impressed, and quickly changed my mind once it arrived. I decided to use a better quality board that played well with PS4, as well as a good Sanwa arcade stick and buttons. For the board I decided on the Brook Fighting Board PS3/PS4 as it would plug and play with PC and PS4. These all came to around $80 CAD, which is what I paid for my initial small uncomfortable stick anyway.

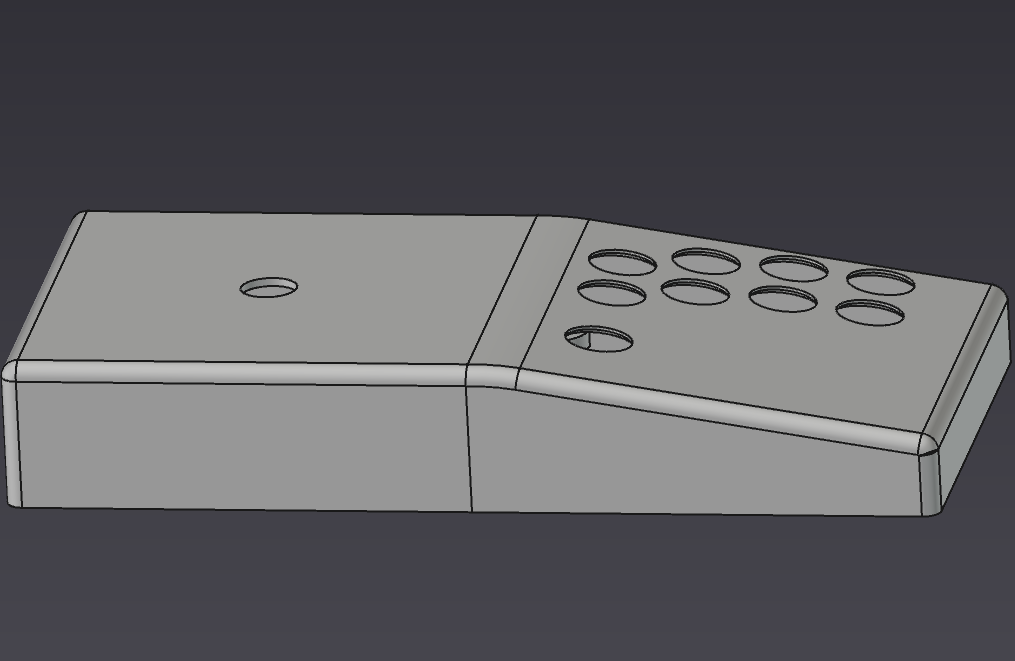
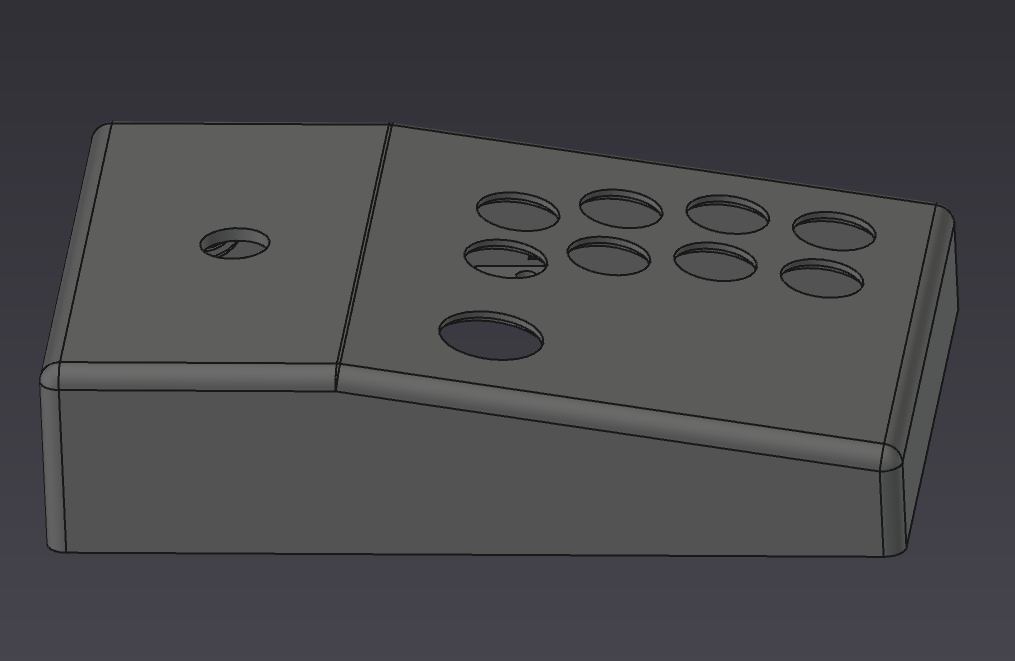
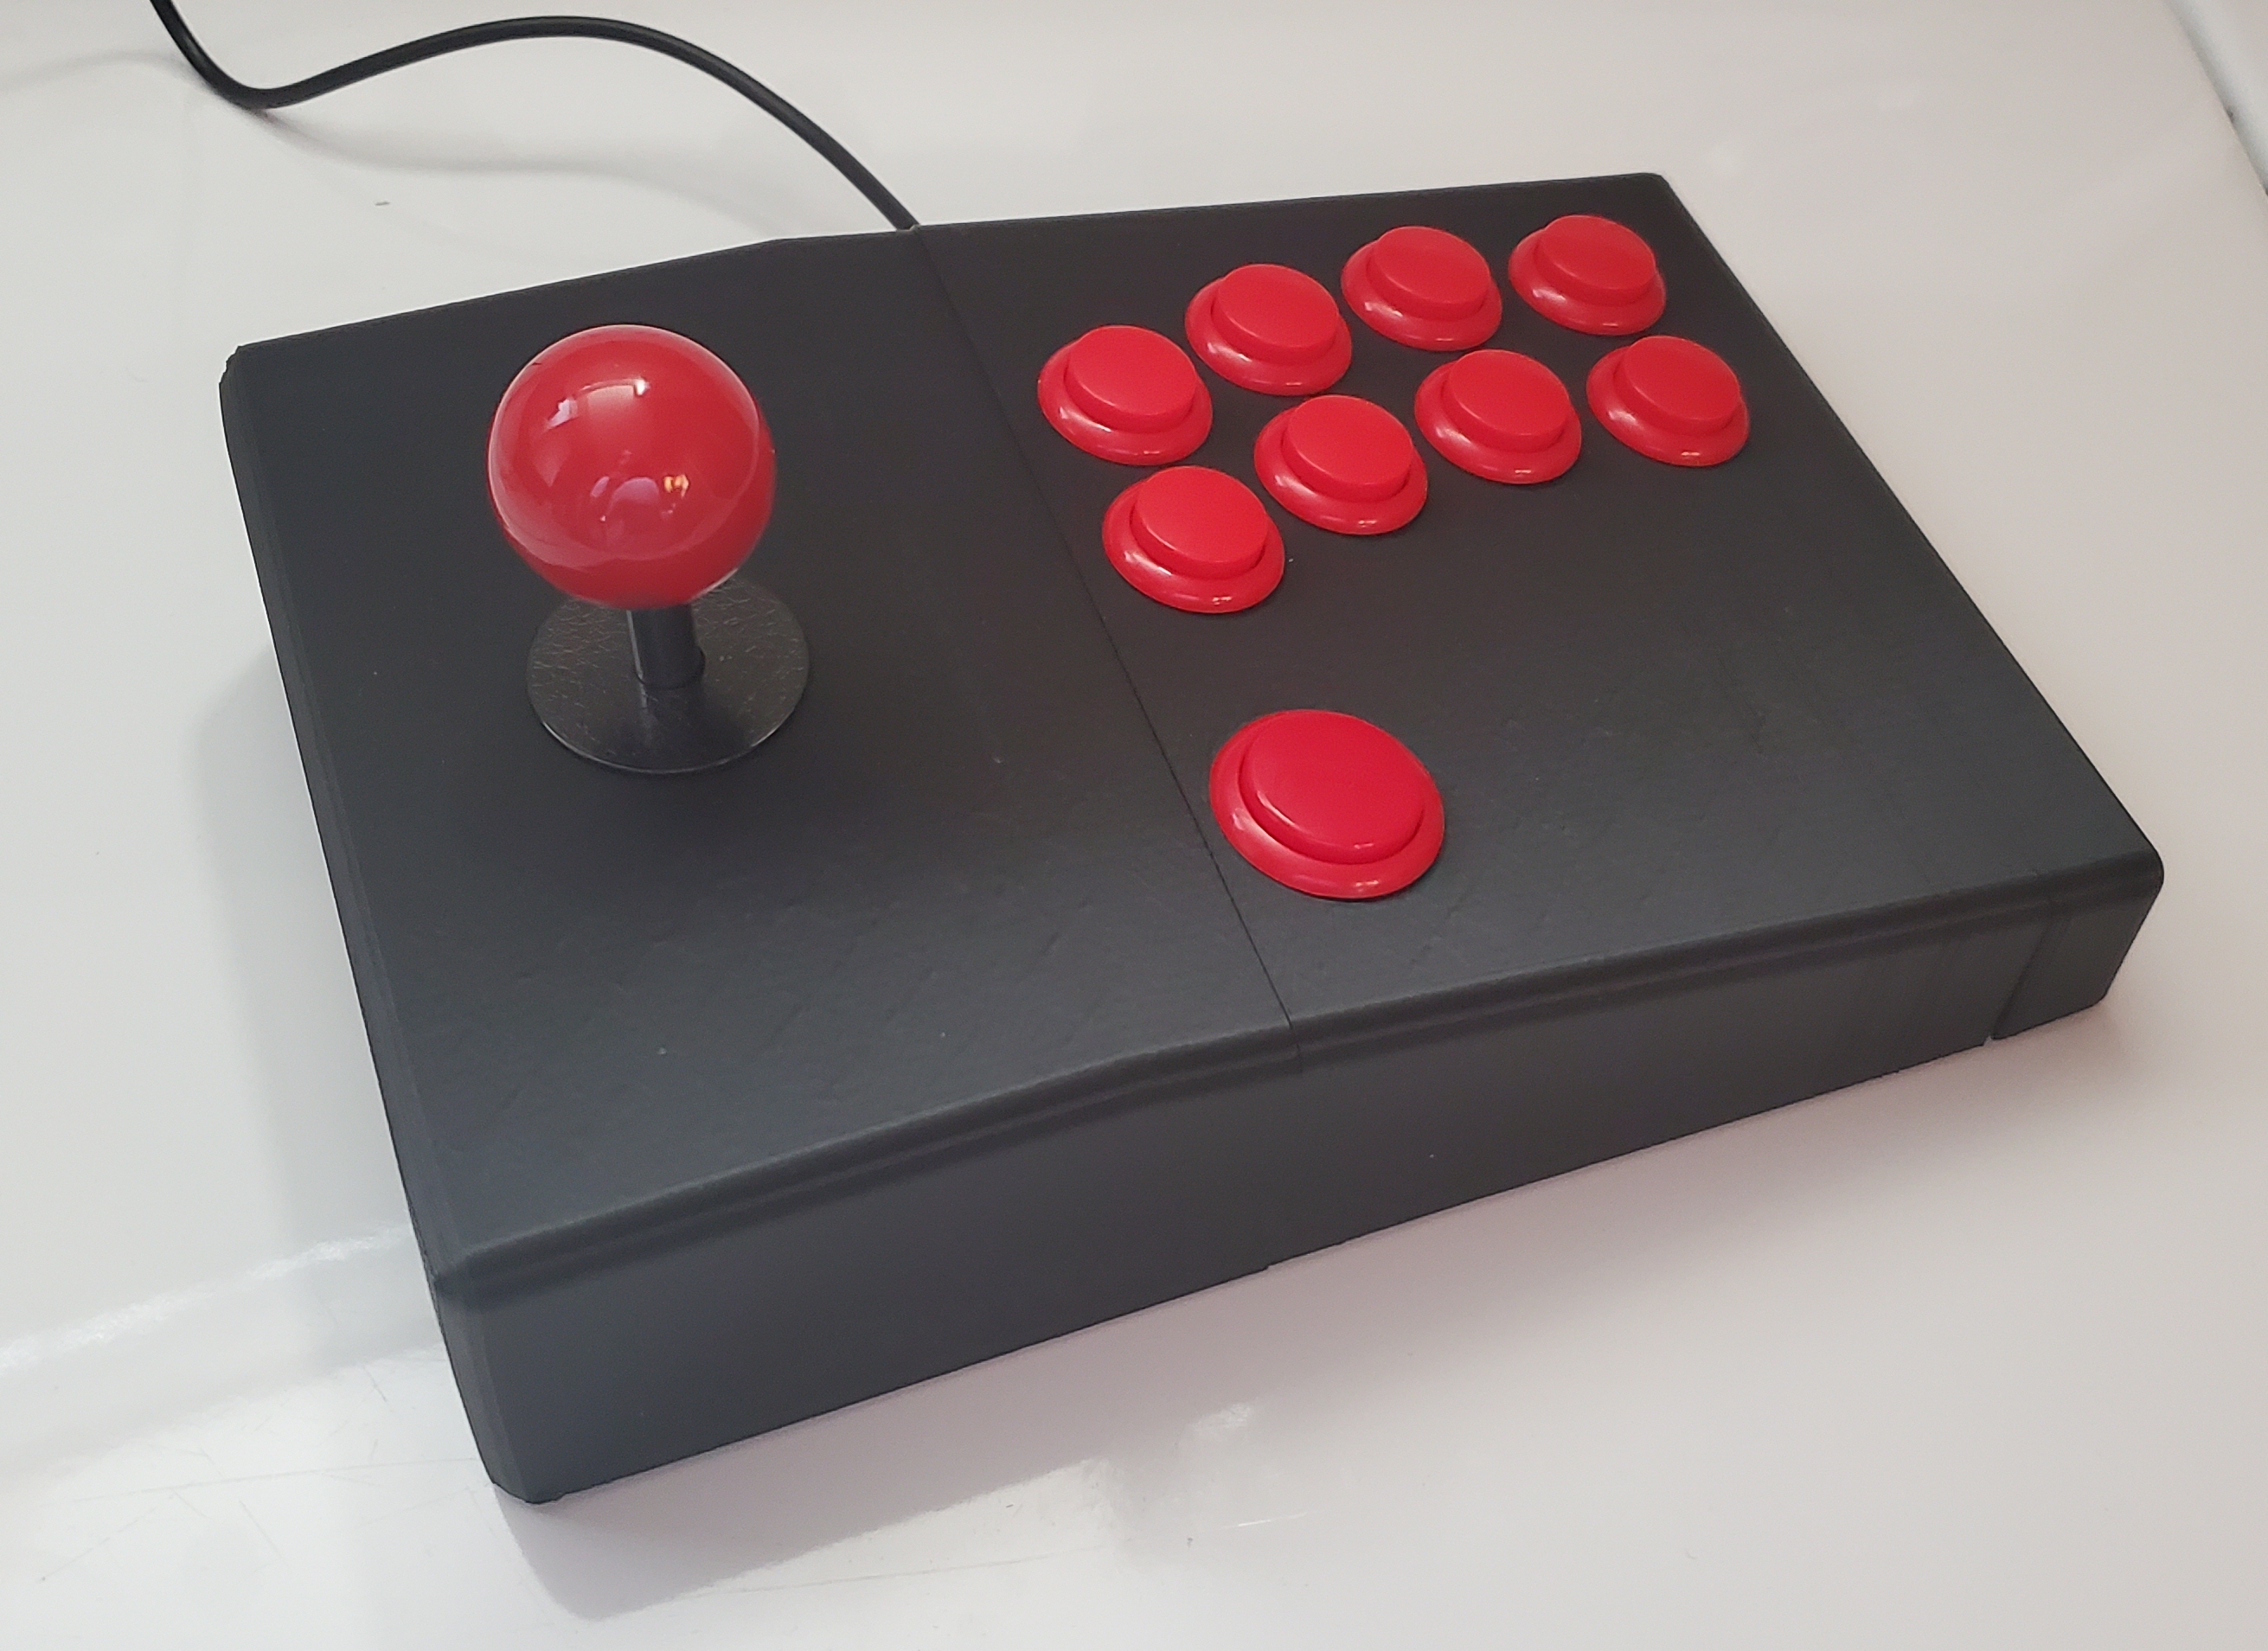
After playing around with a few design iterations I arrived at a symmetrical tented enclosure printed in two parts and joined with hardware to try out.
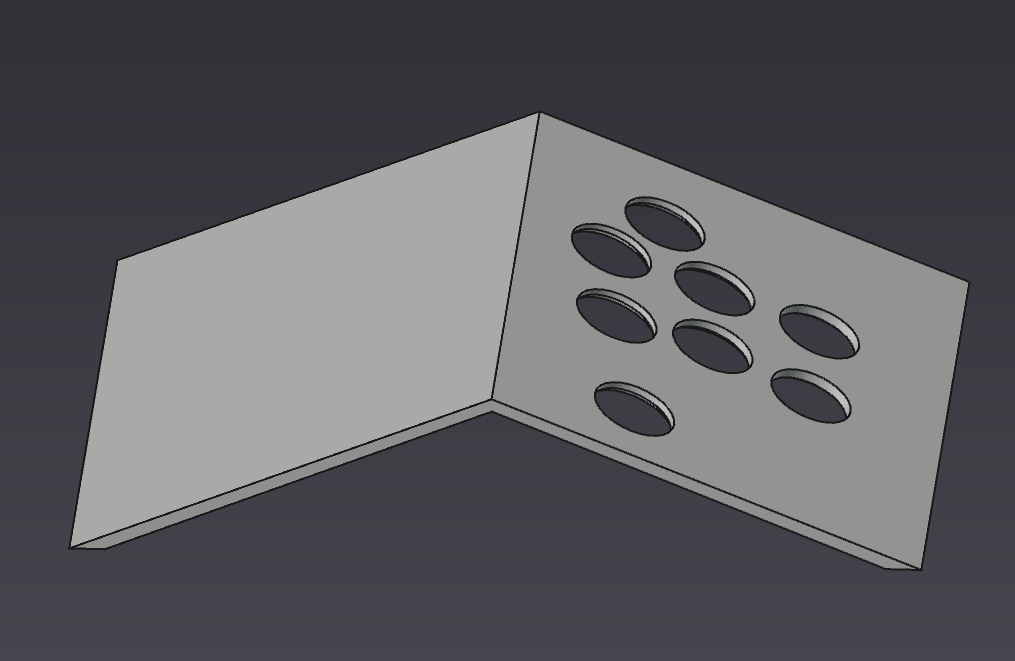
I slotted the components in and it assembled well for the most part, but was too wide and wasn’t any more comfortable than the mini stick I had been using up to this point.
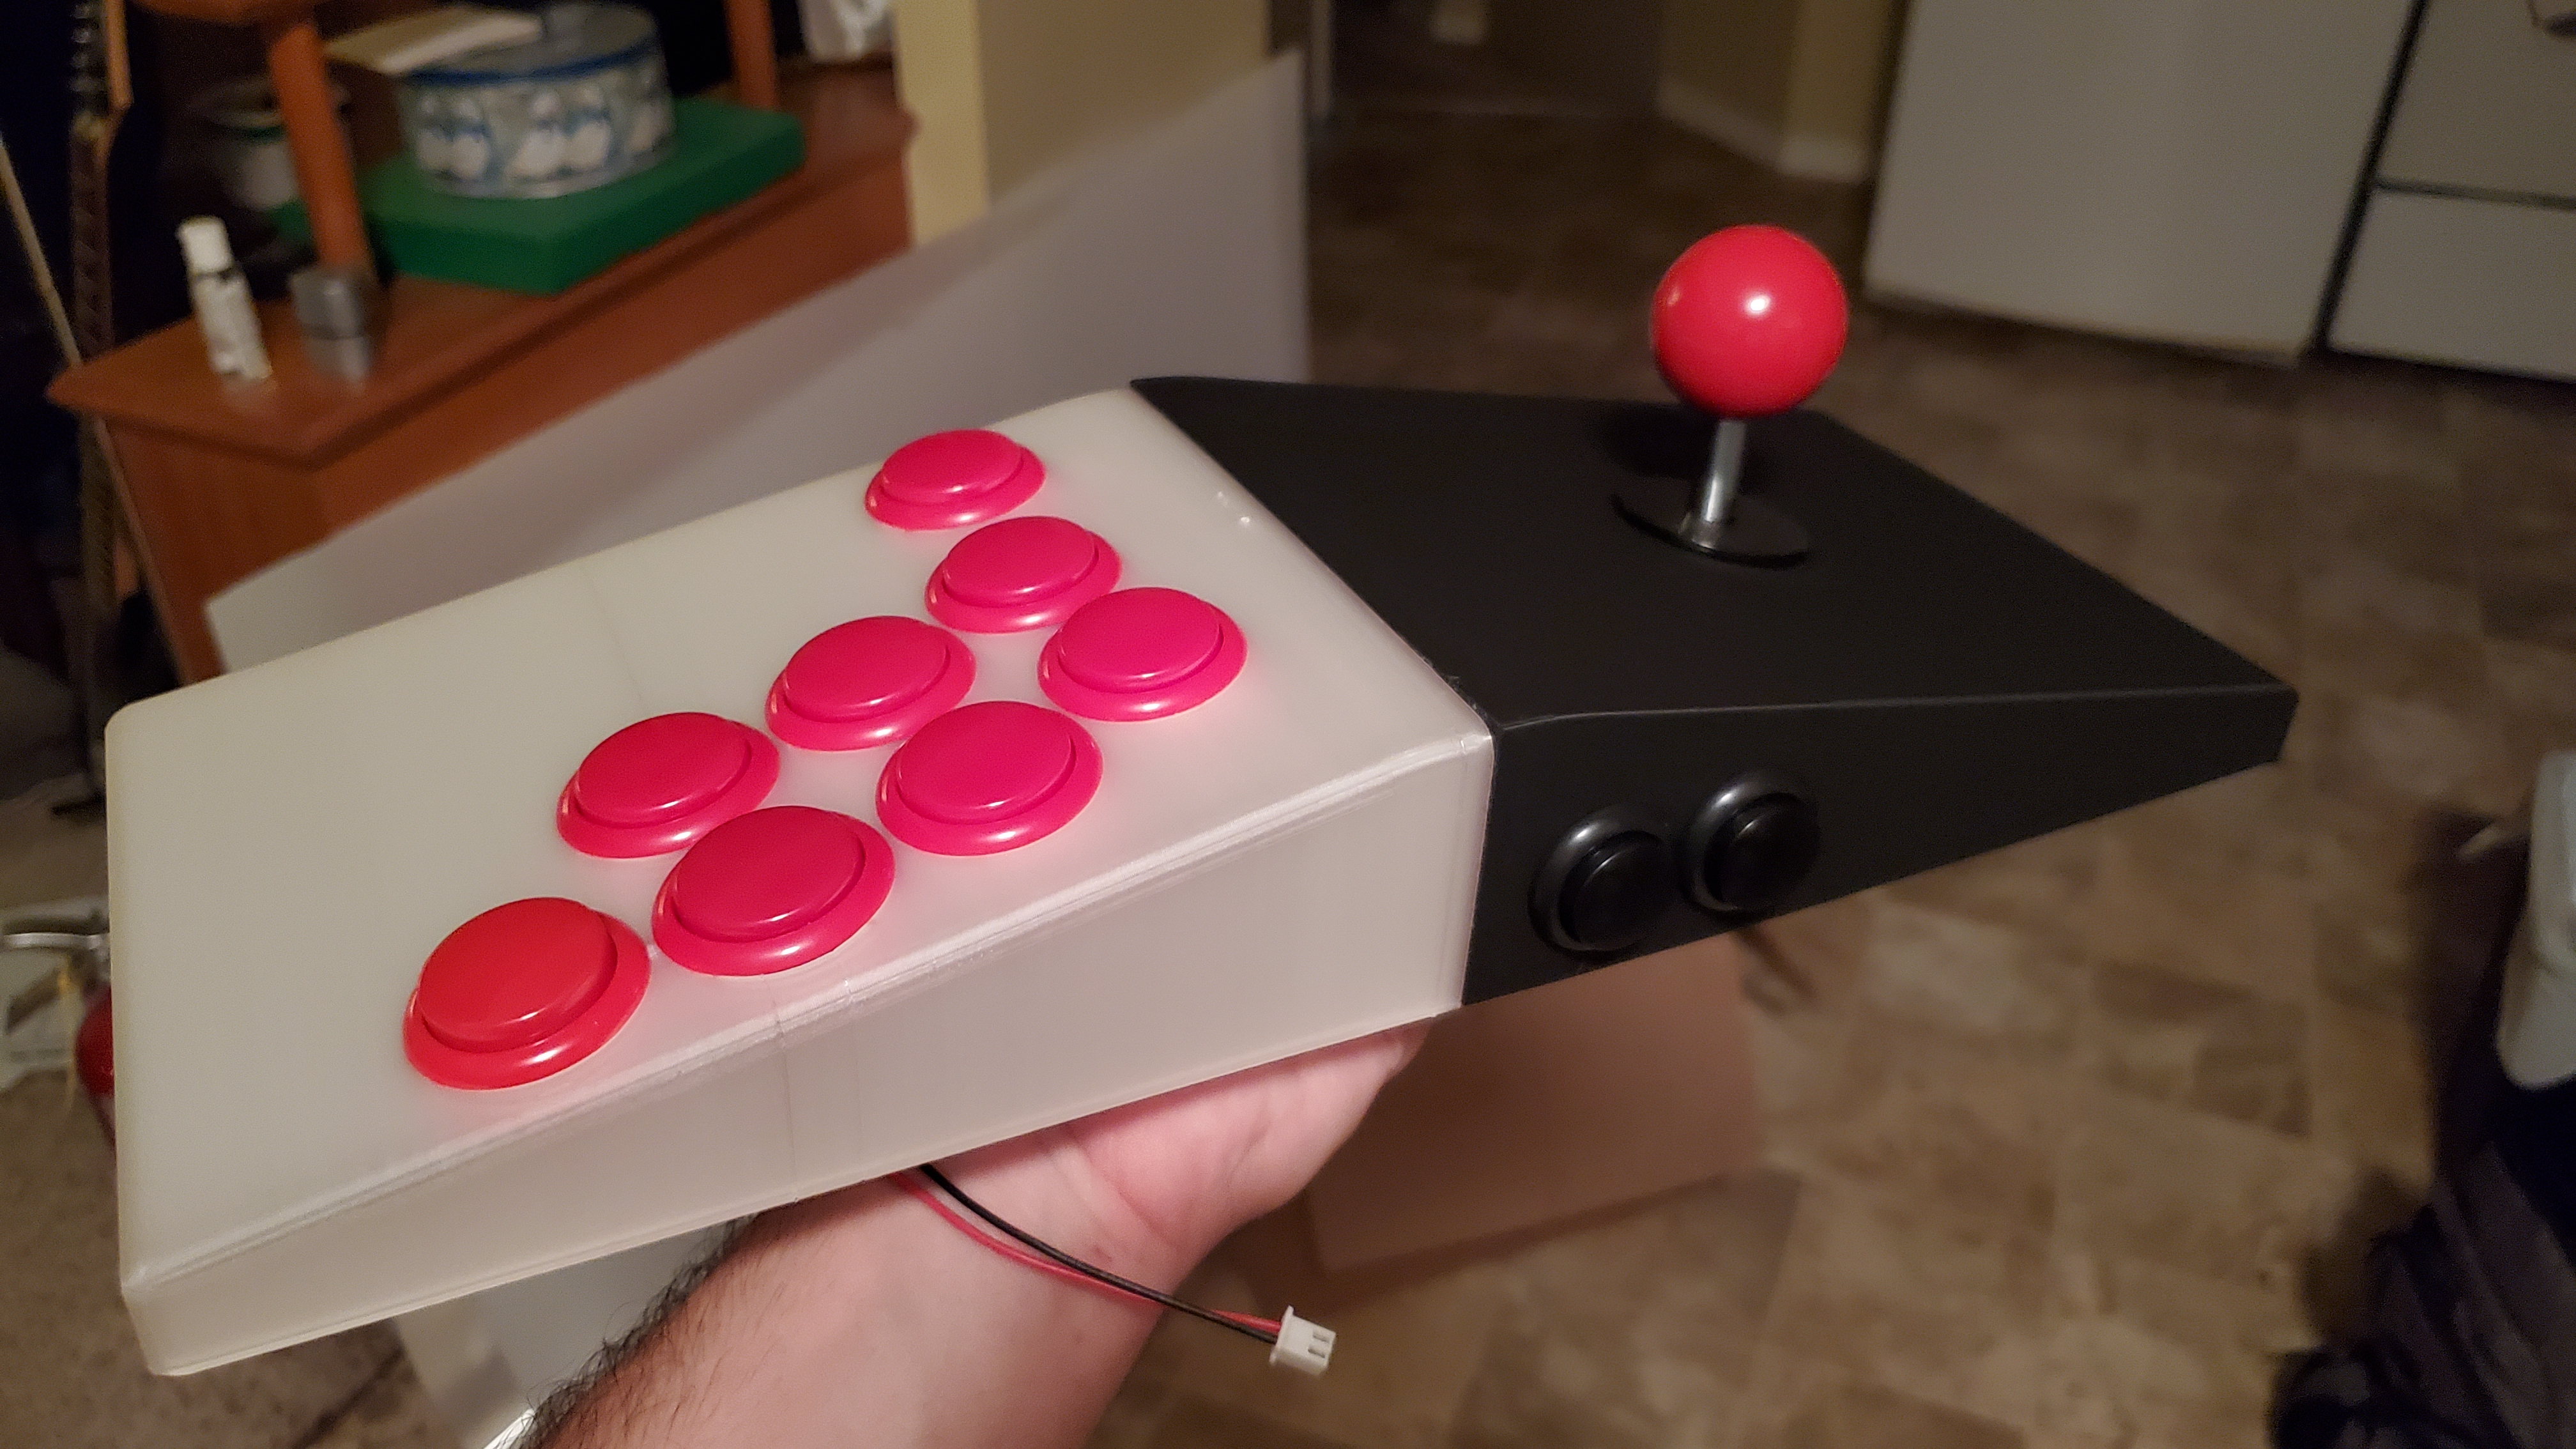
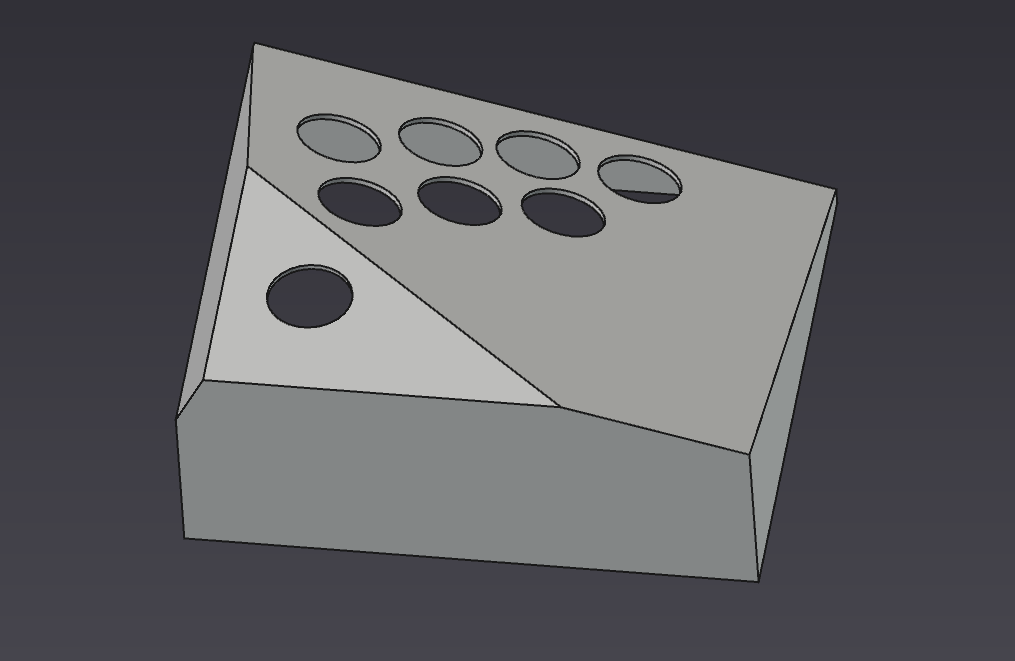
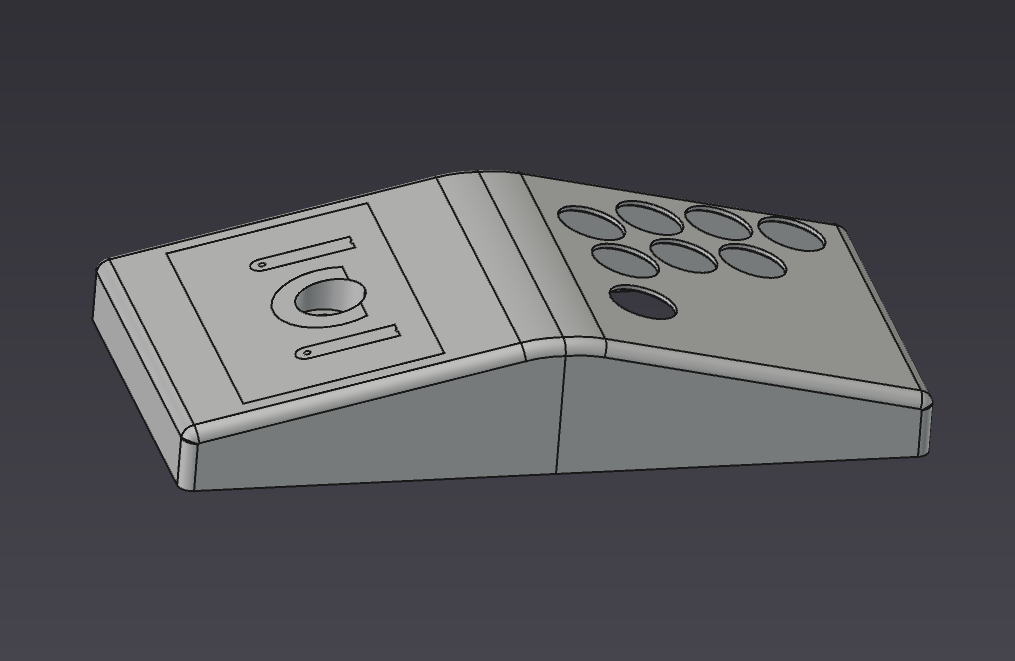
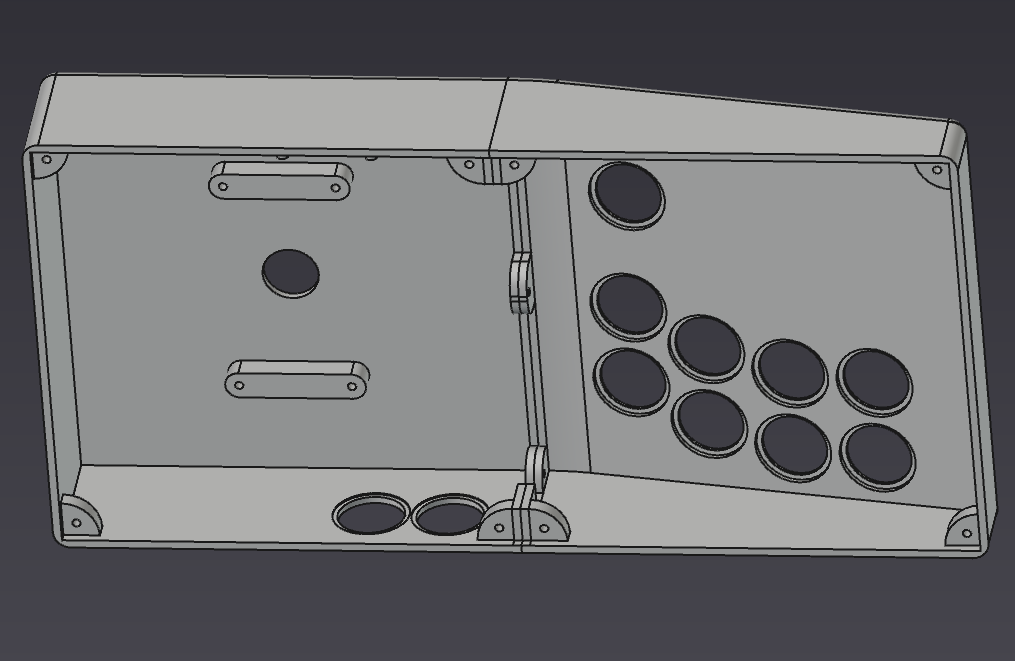
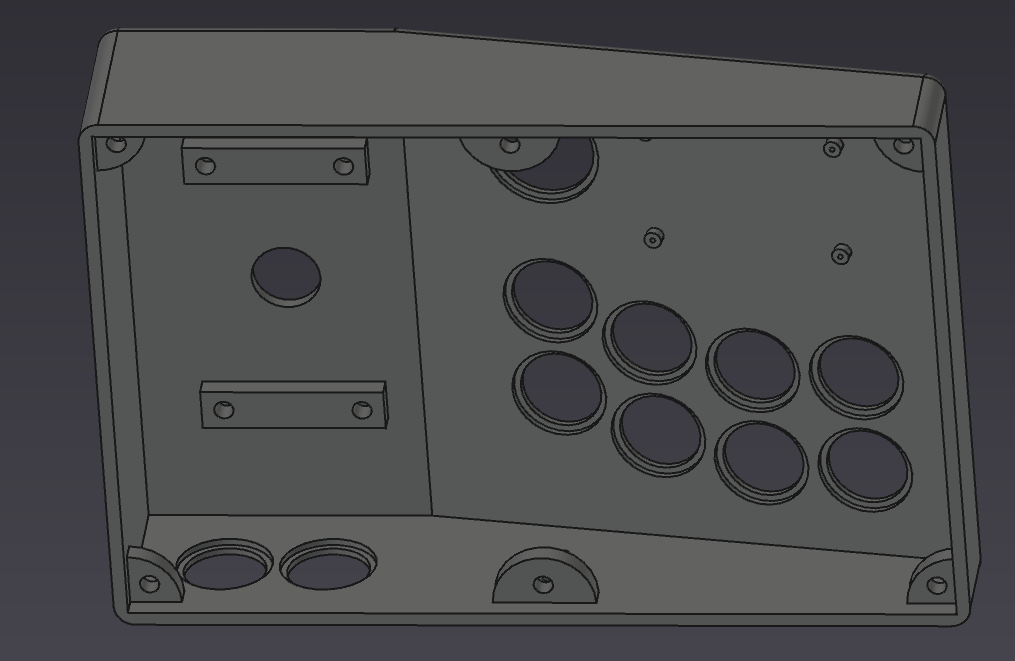
After another iteration where the stick half wasn’t tented, I decided to squash it down to a more compact size with standoffs for mounting perfboard with wiring in mind. I also switched to 24mm buttons, as the 30mm buttons I used on the first iteration had to be spaced out more than I liked.
Build#
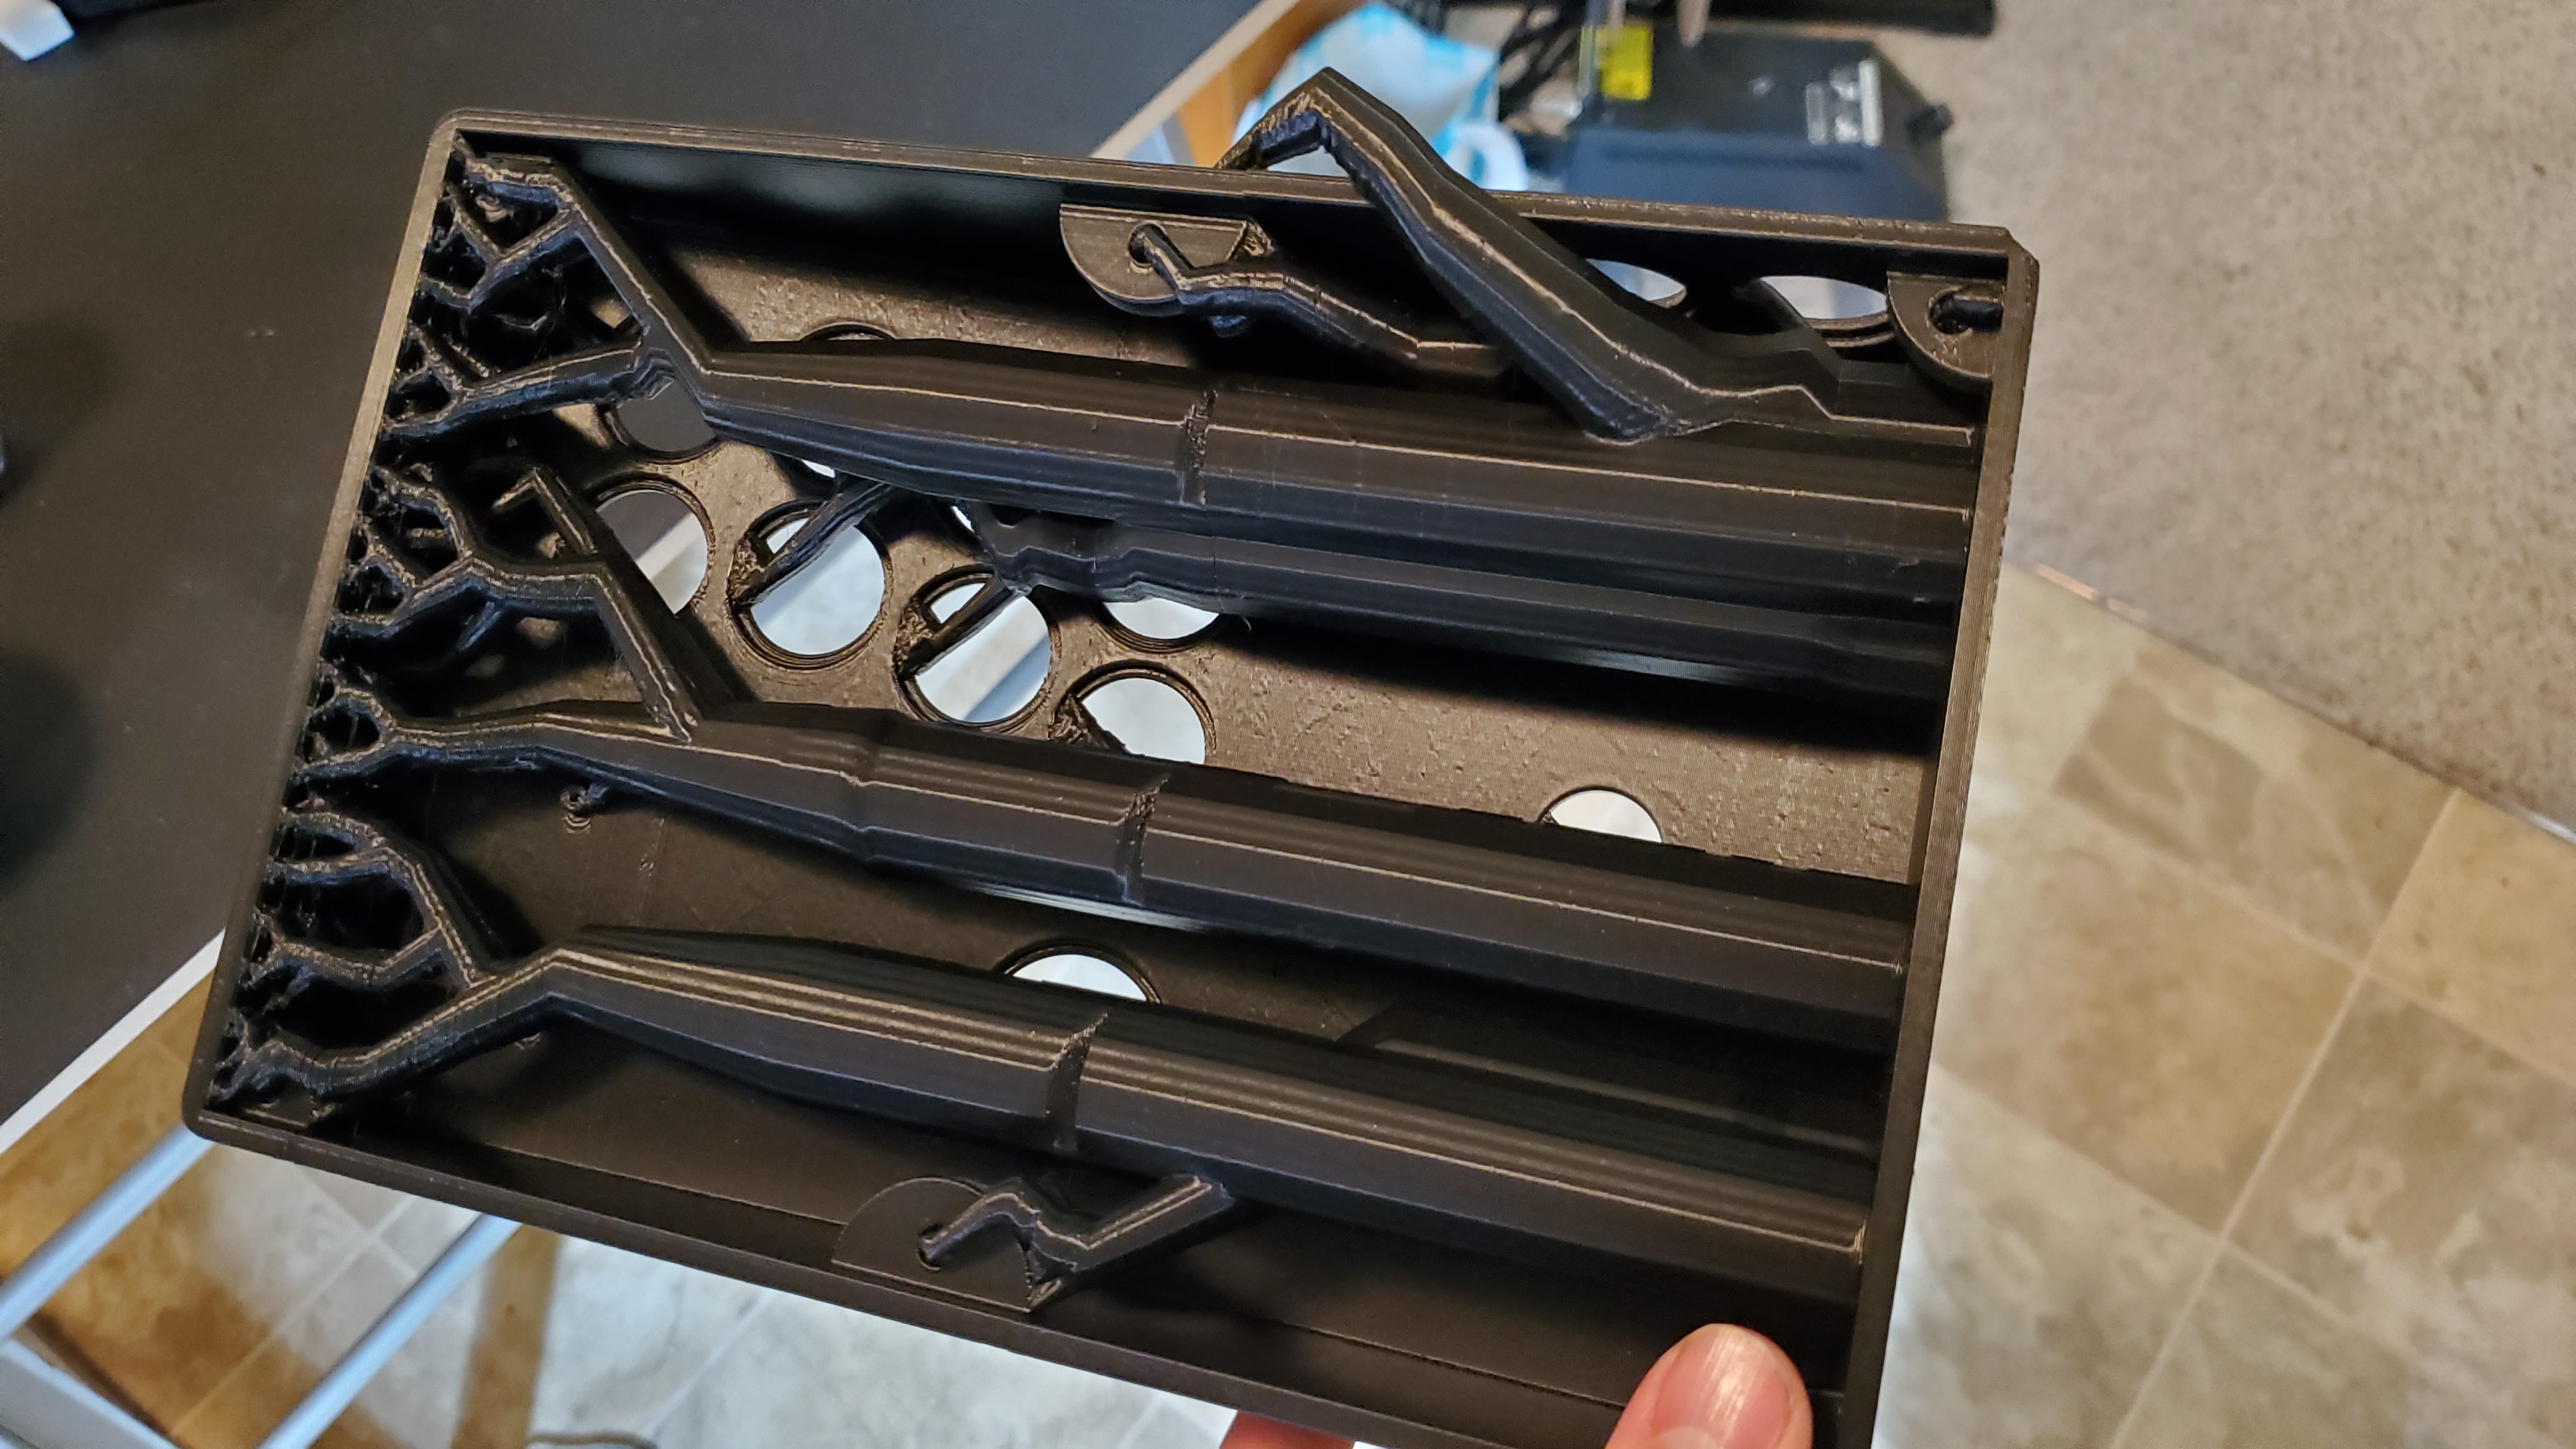
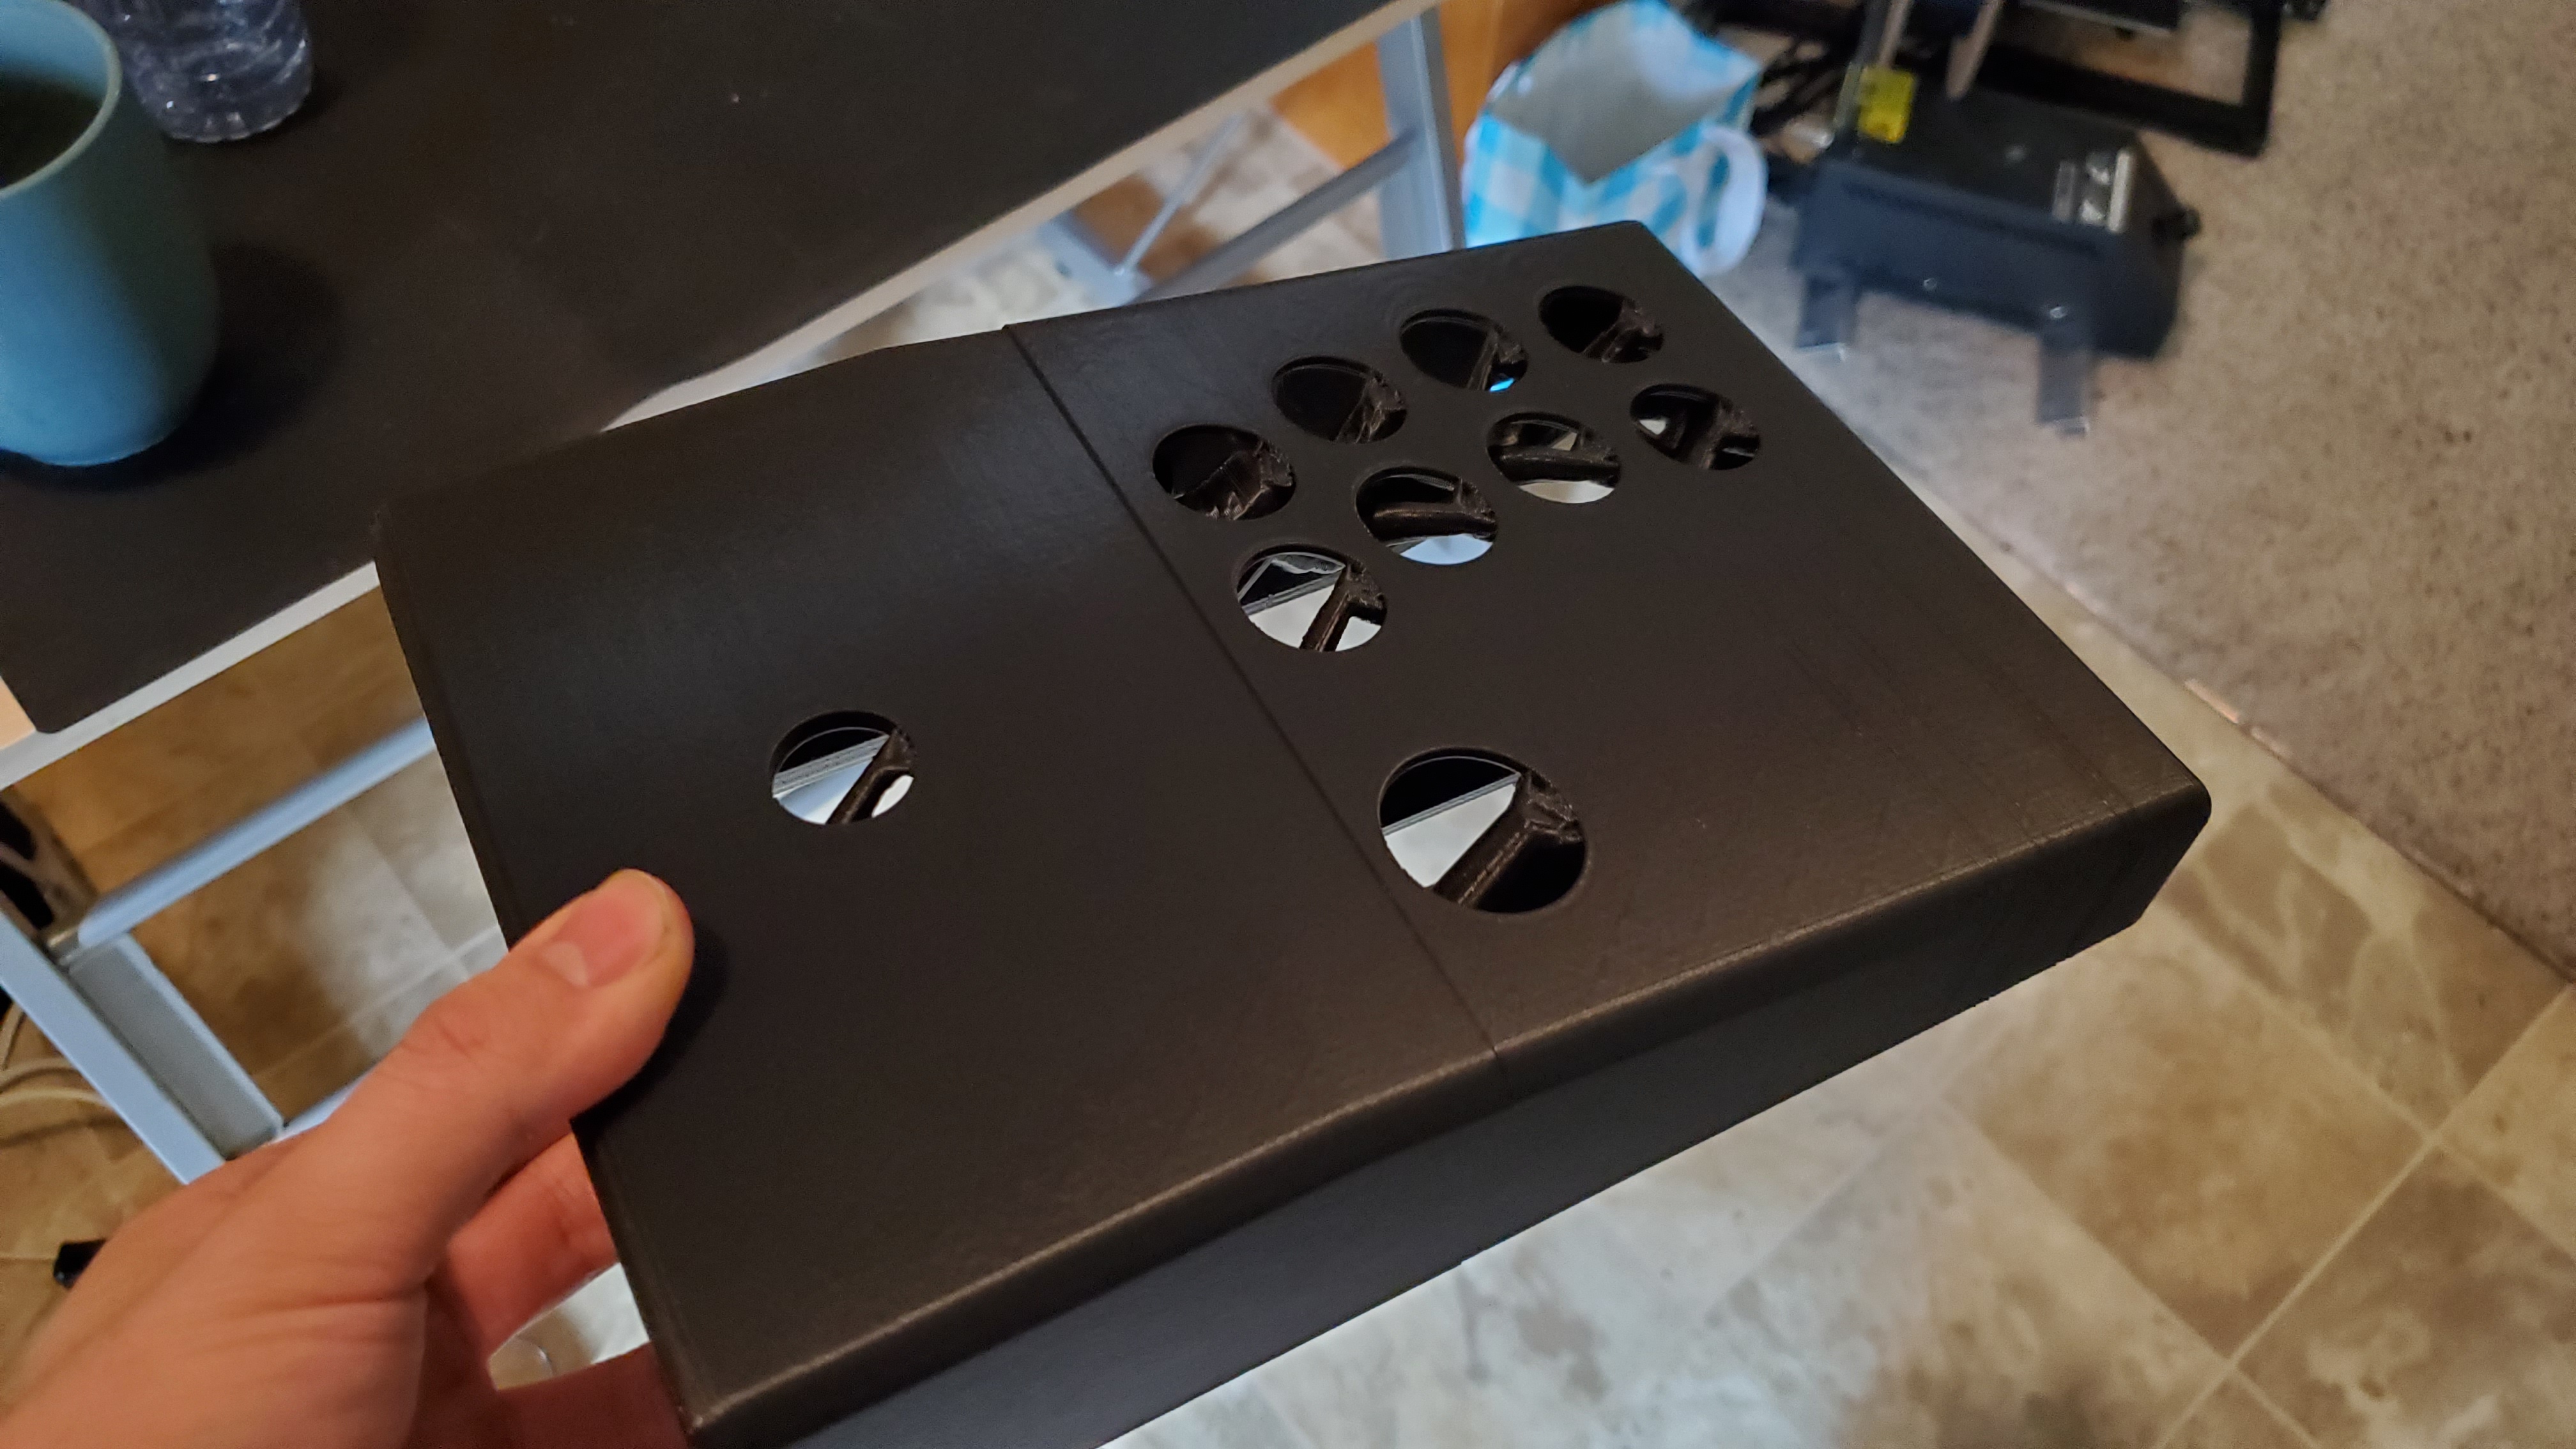
The case print had a noticeable layer shift halfway through, but given the print time on the old ender clone printer I had at the time and because this controller was just for me, I used it anyway. (Yes I could have better optimized this for printing and probably could have run it without supports as well)
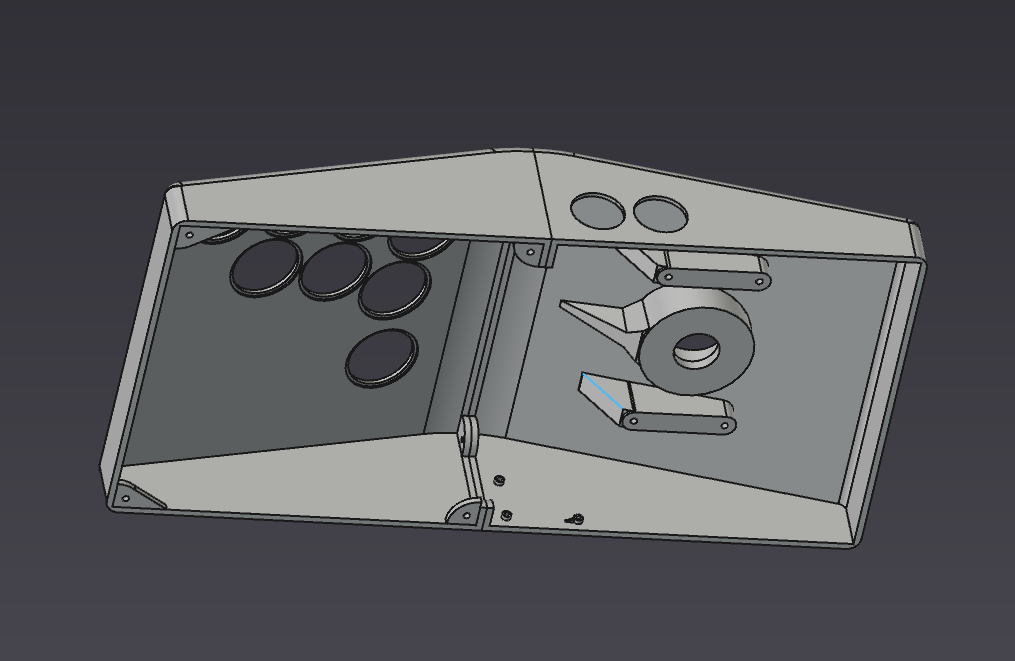
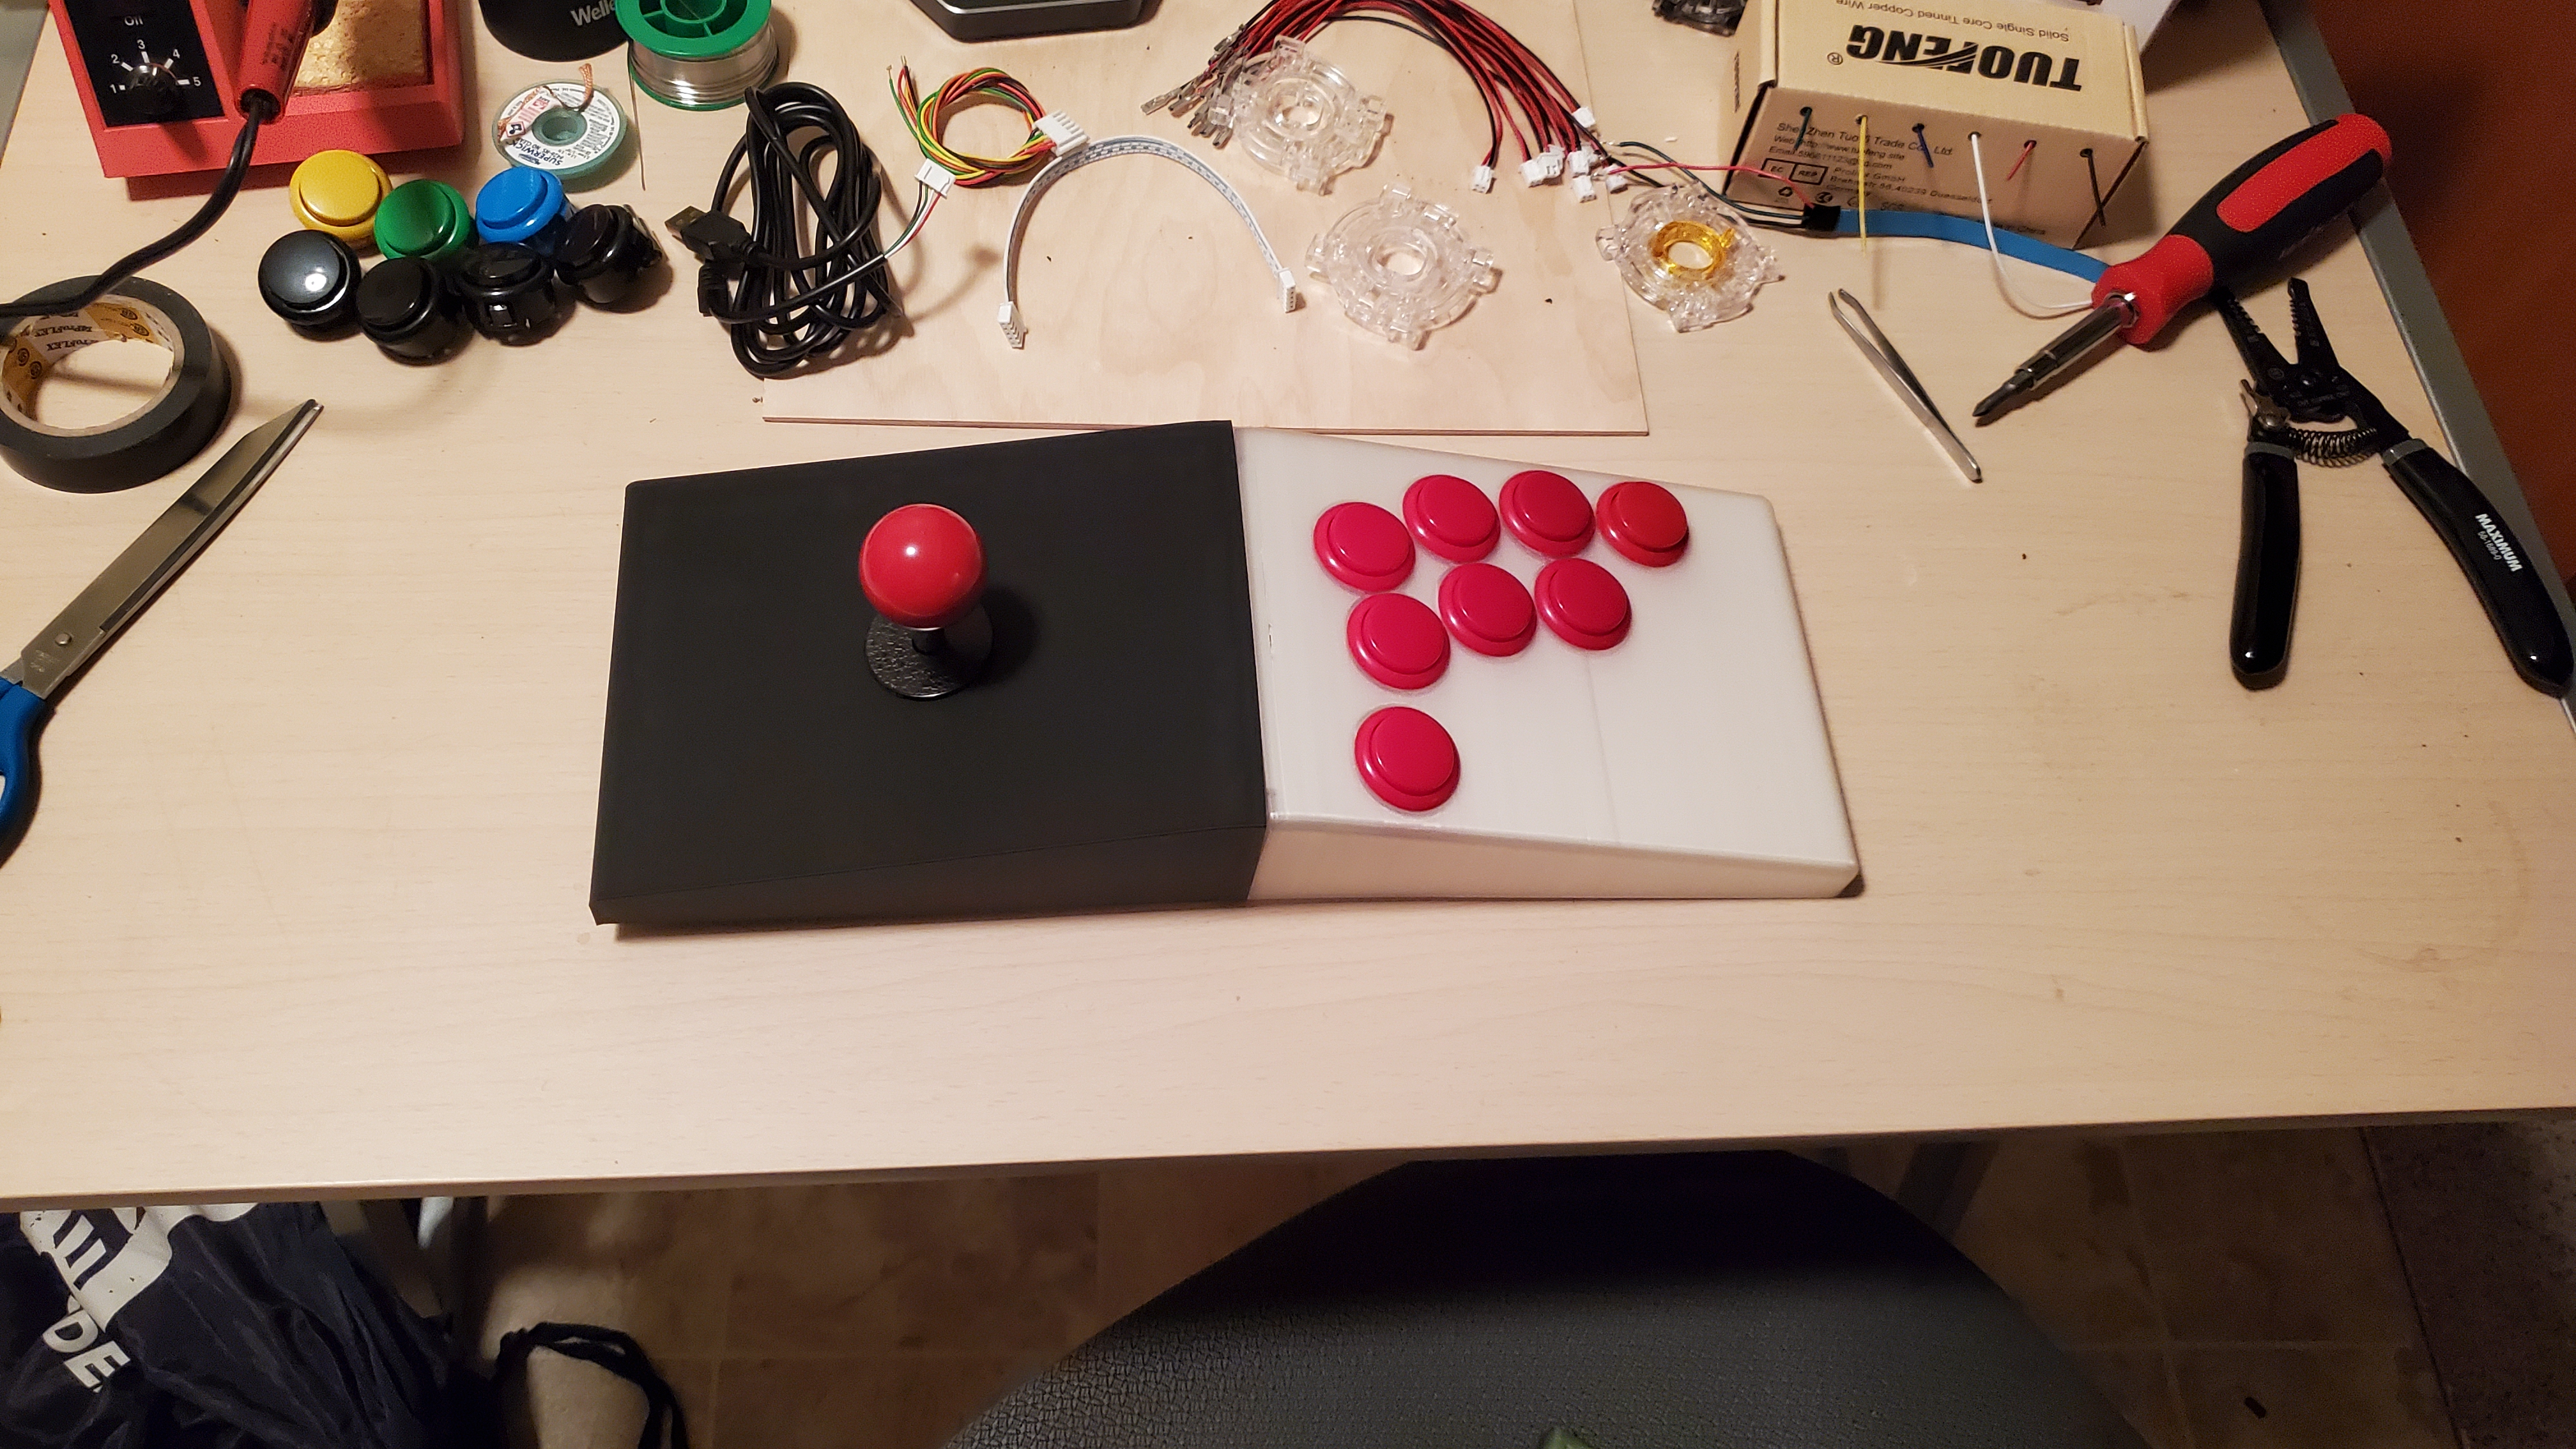
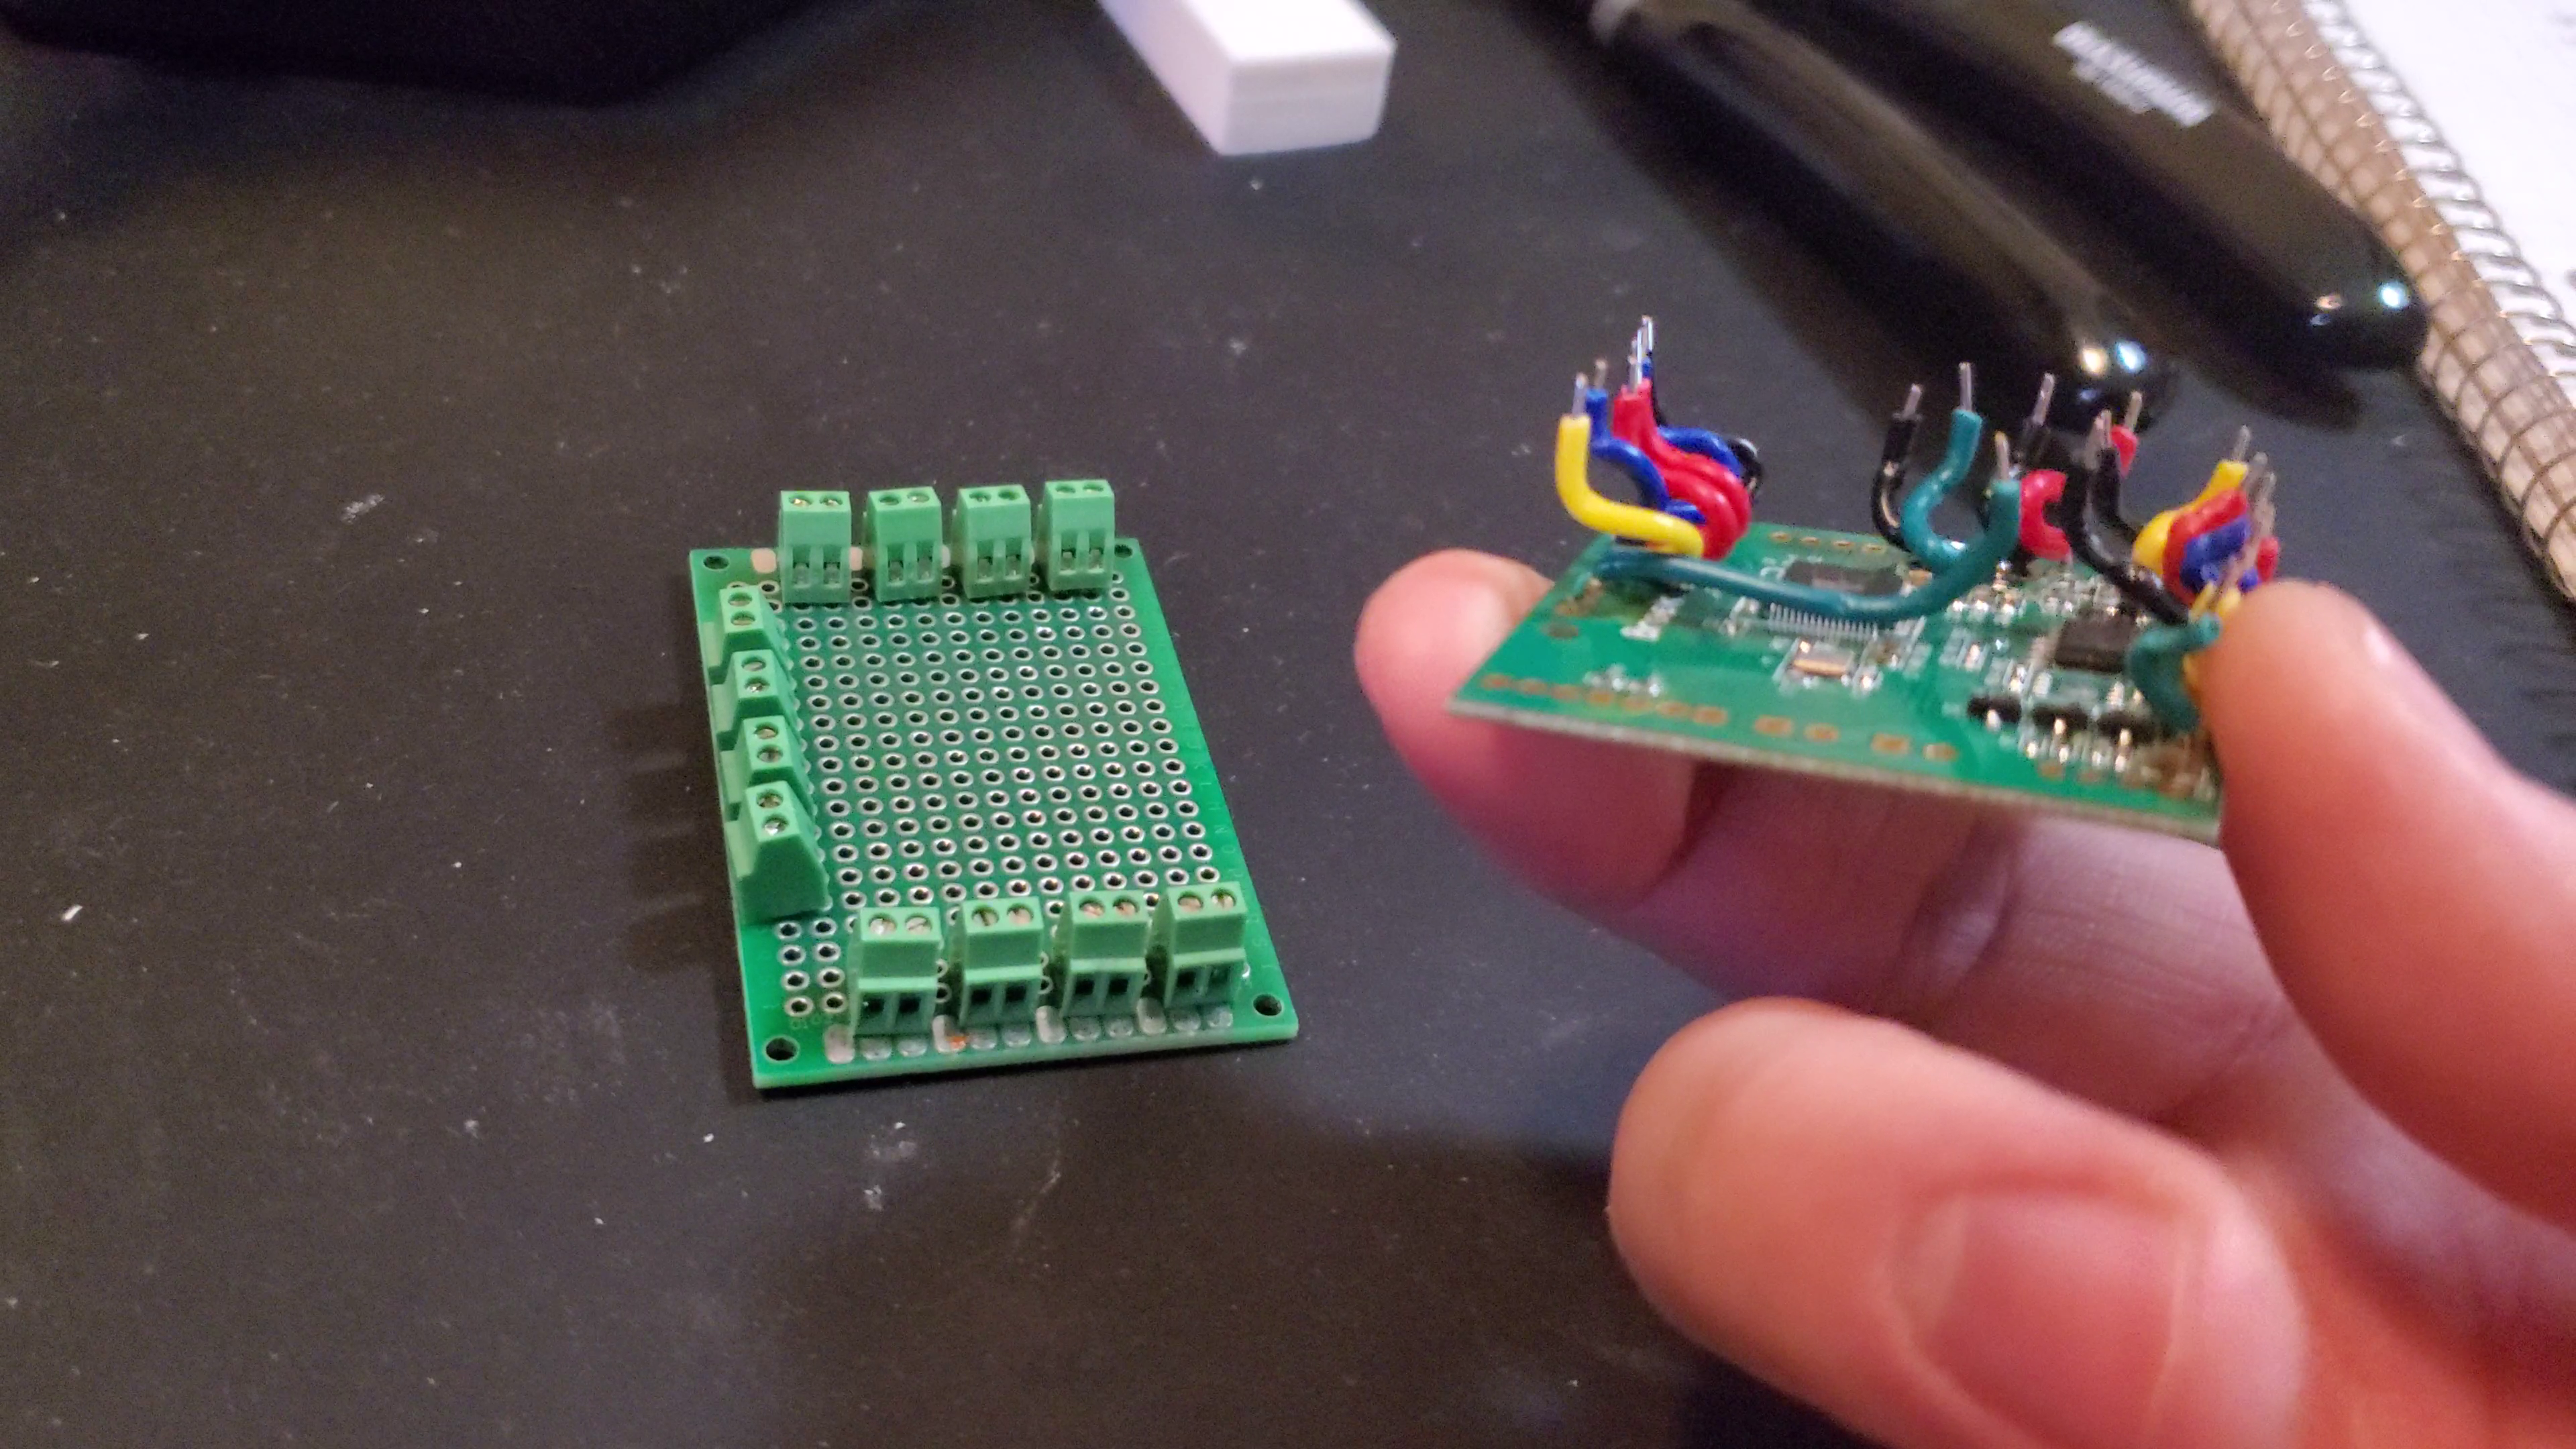
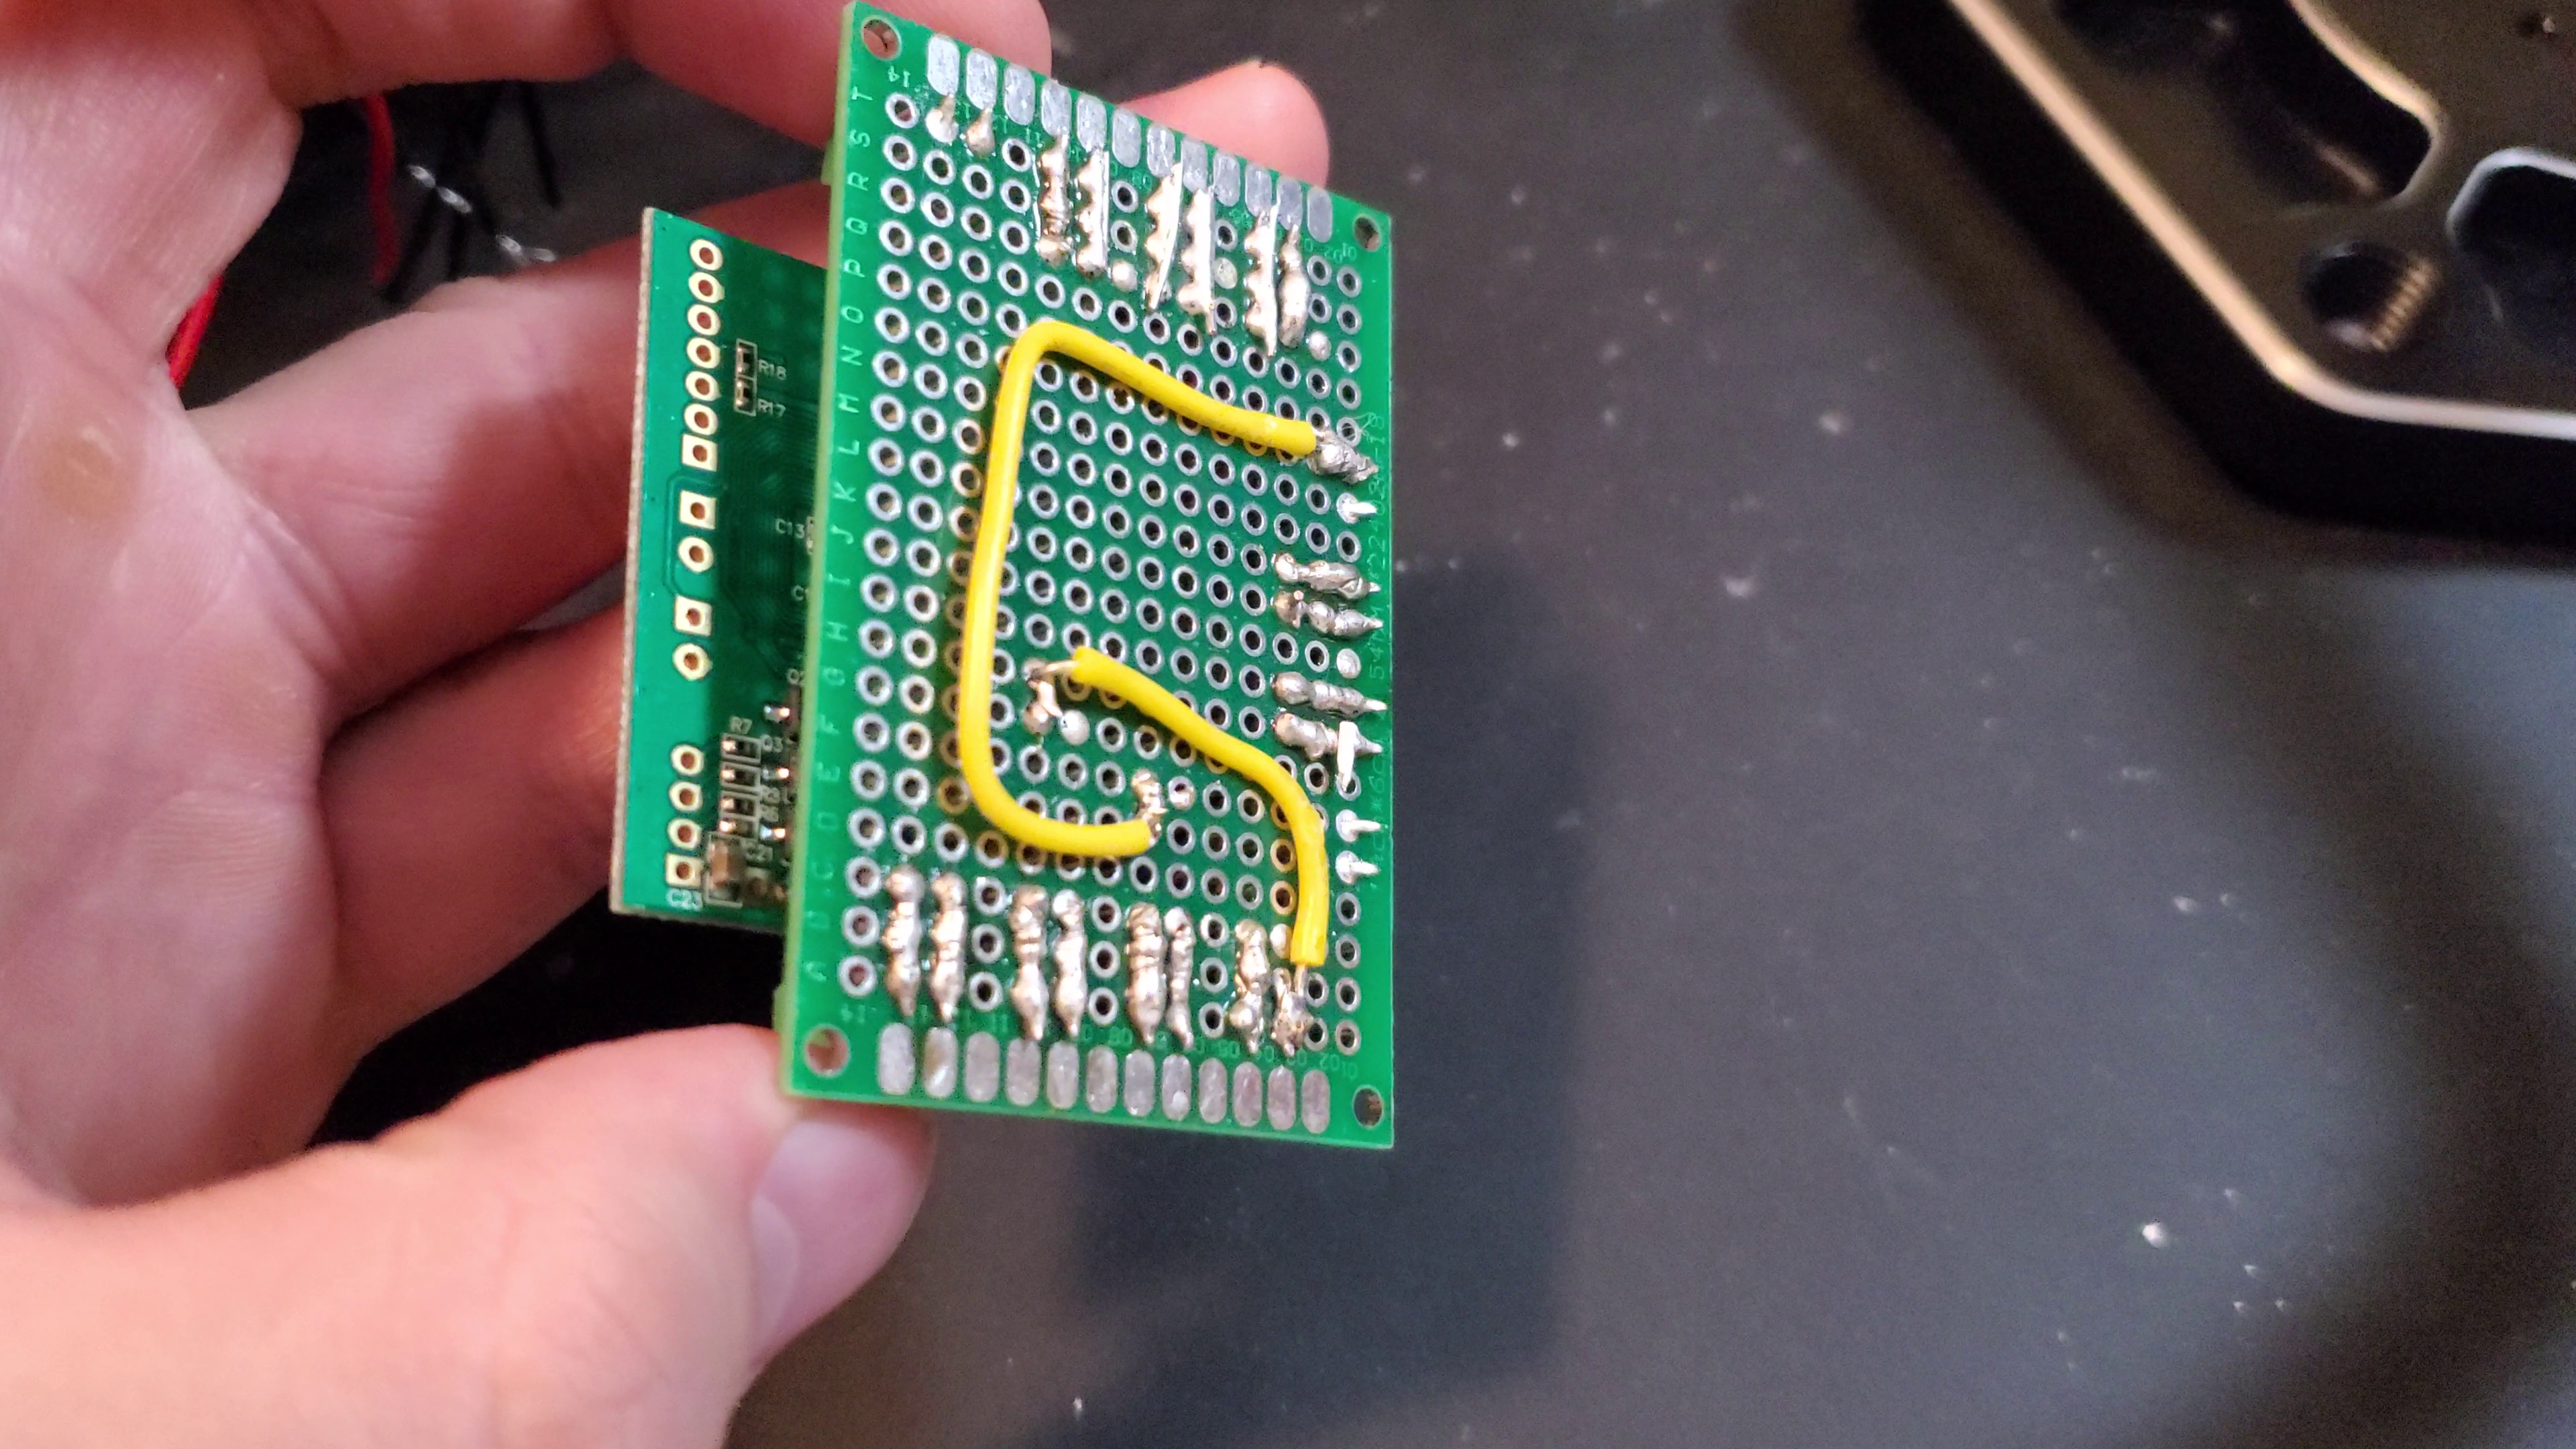
The Brook board could be directly soldered to every switch, but for ease of modification, I wired up all the connections to screw terminals using a small perfboard.
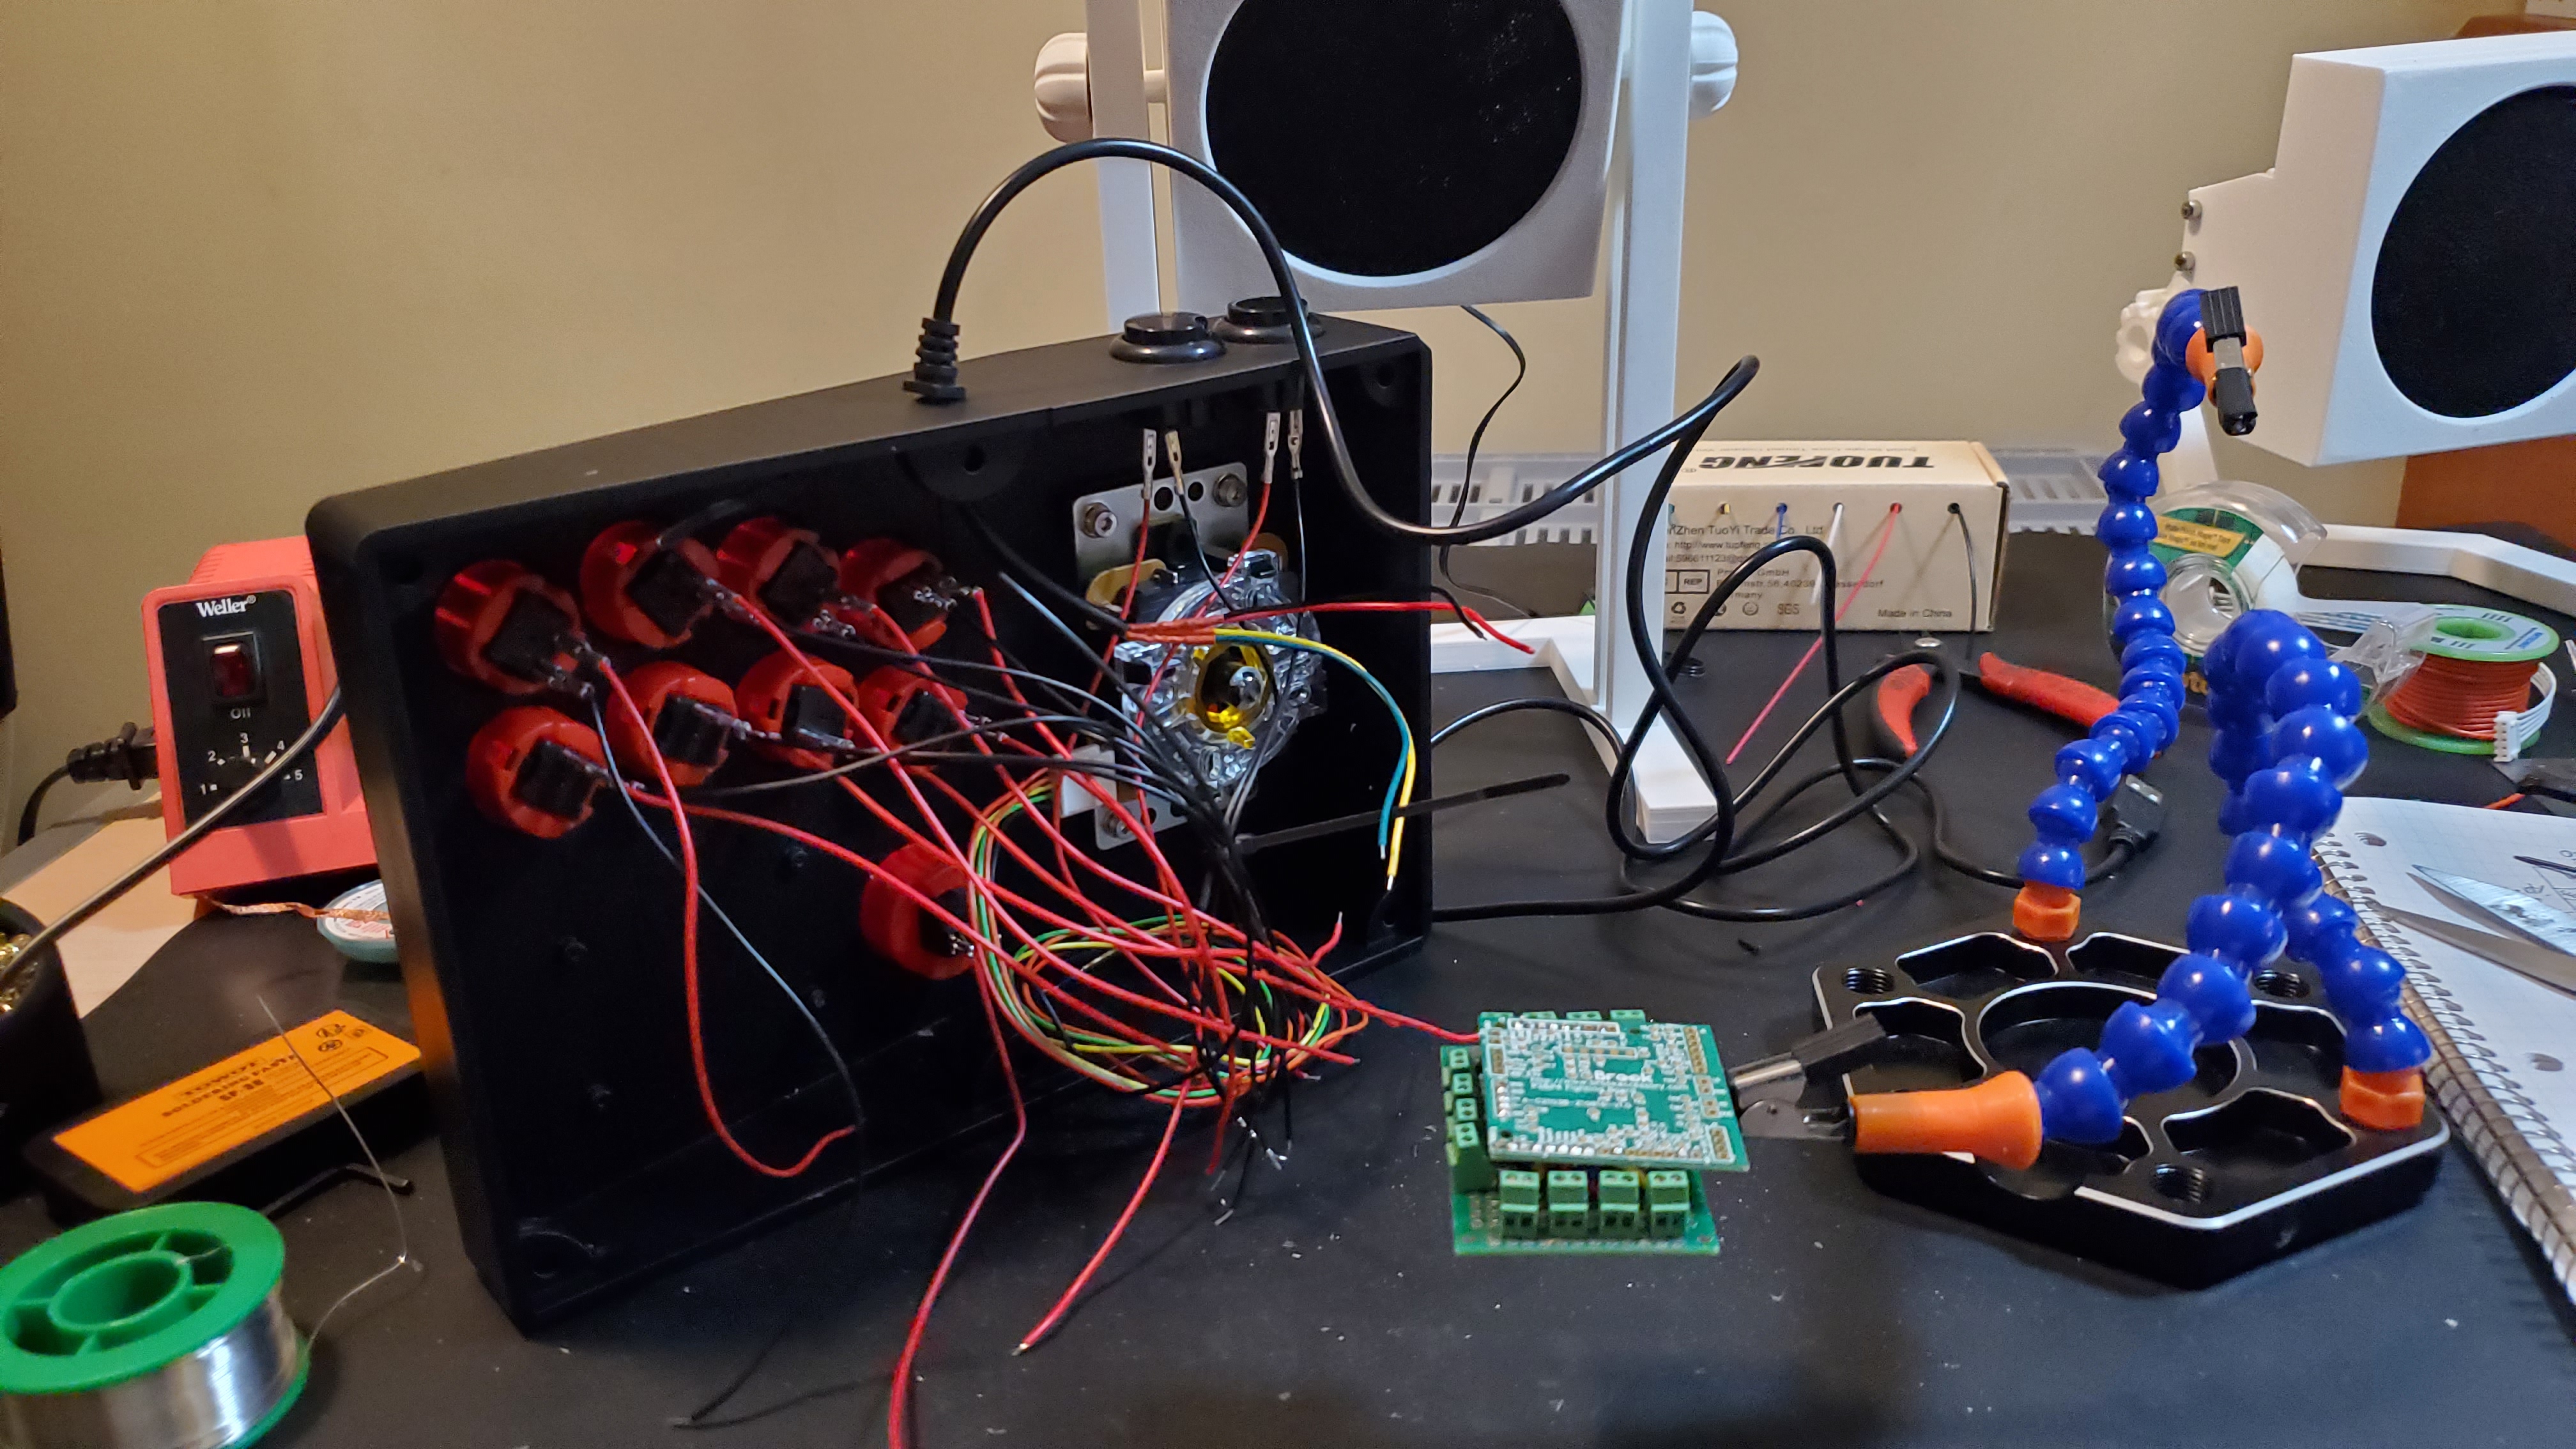
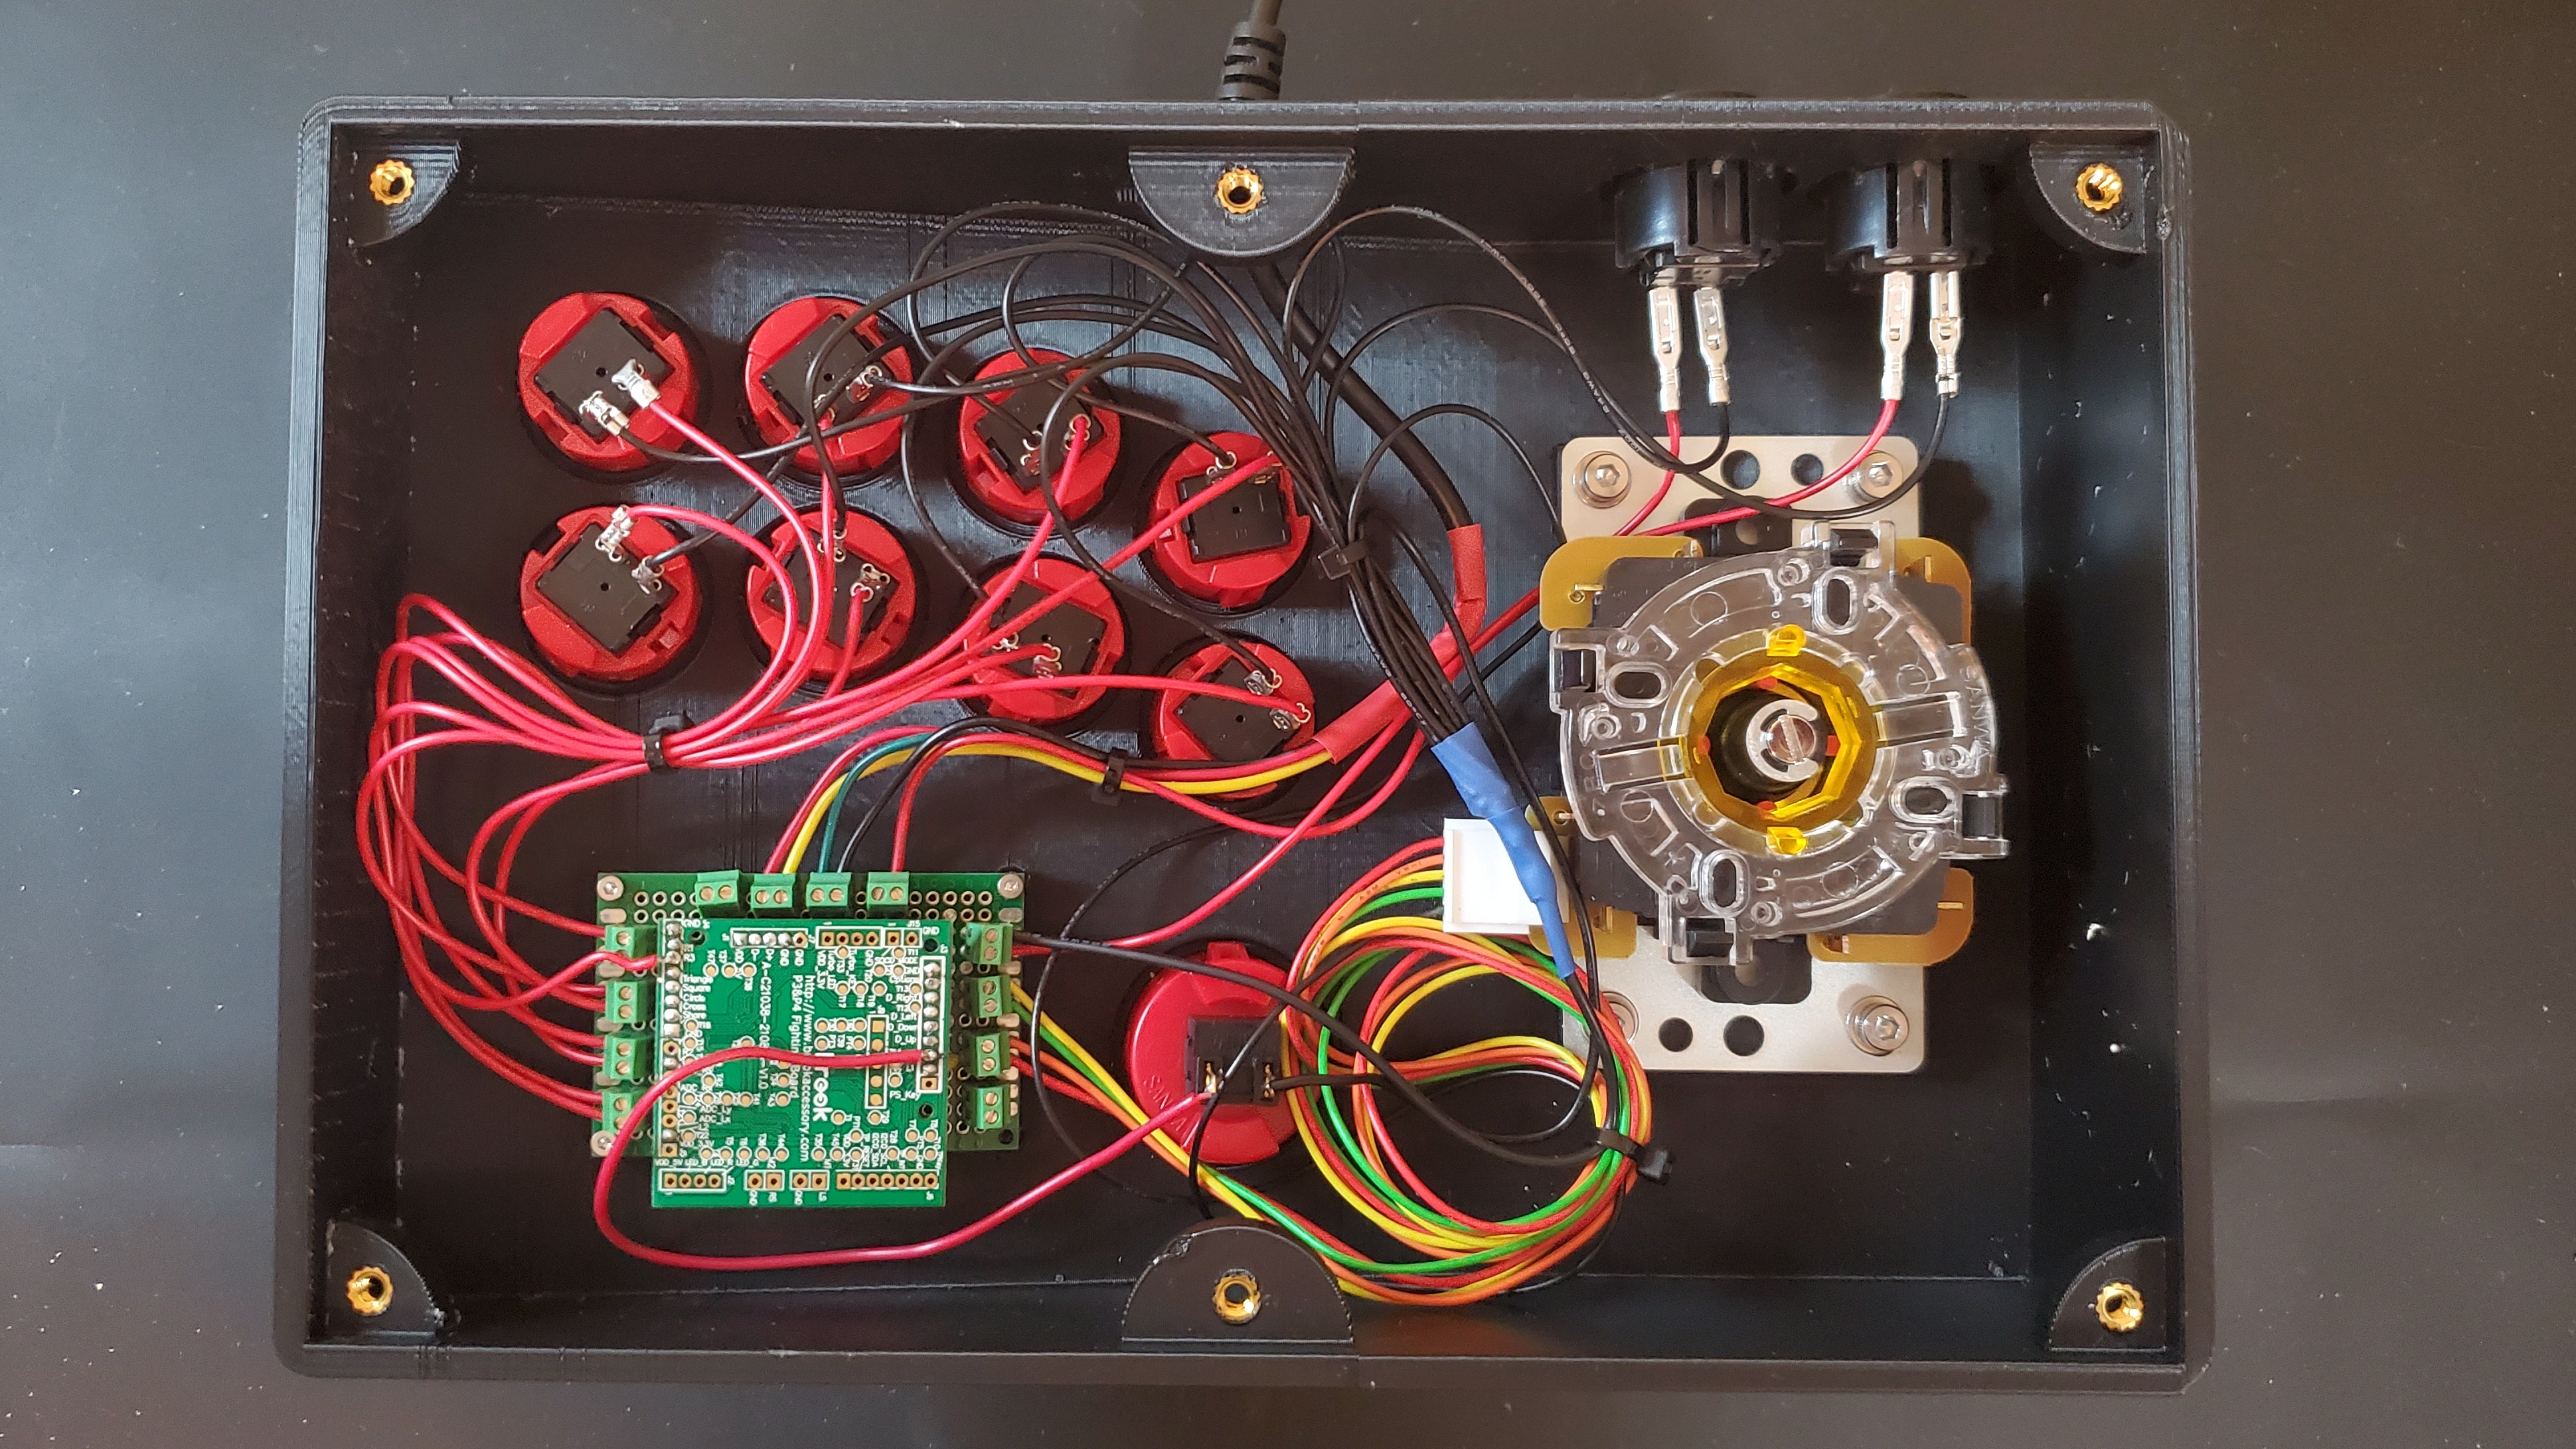
After assembling all the components by press fitting, heat setting inserts, and screwing, I completed the wiring according to the diagram on the Brook board product page.
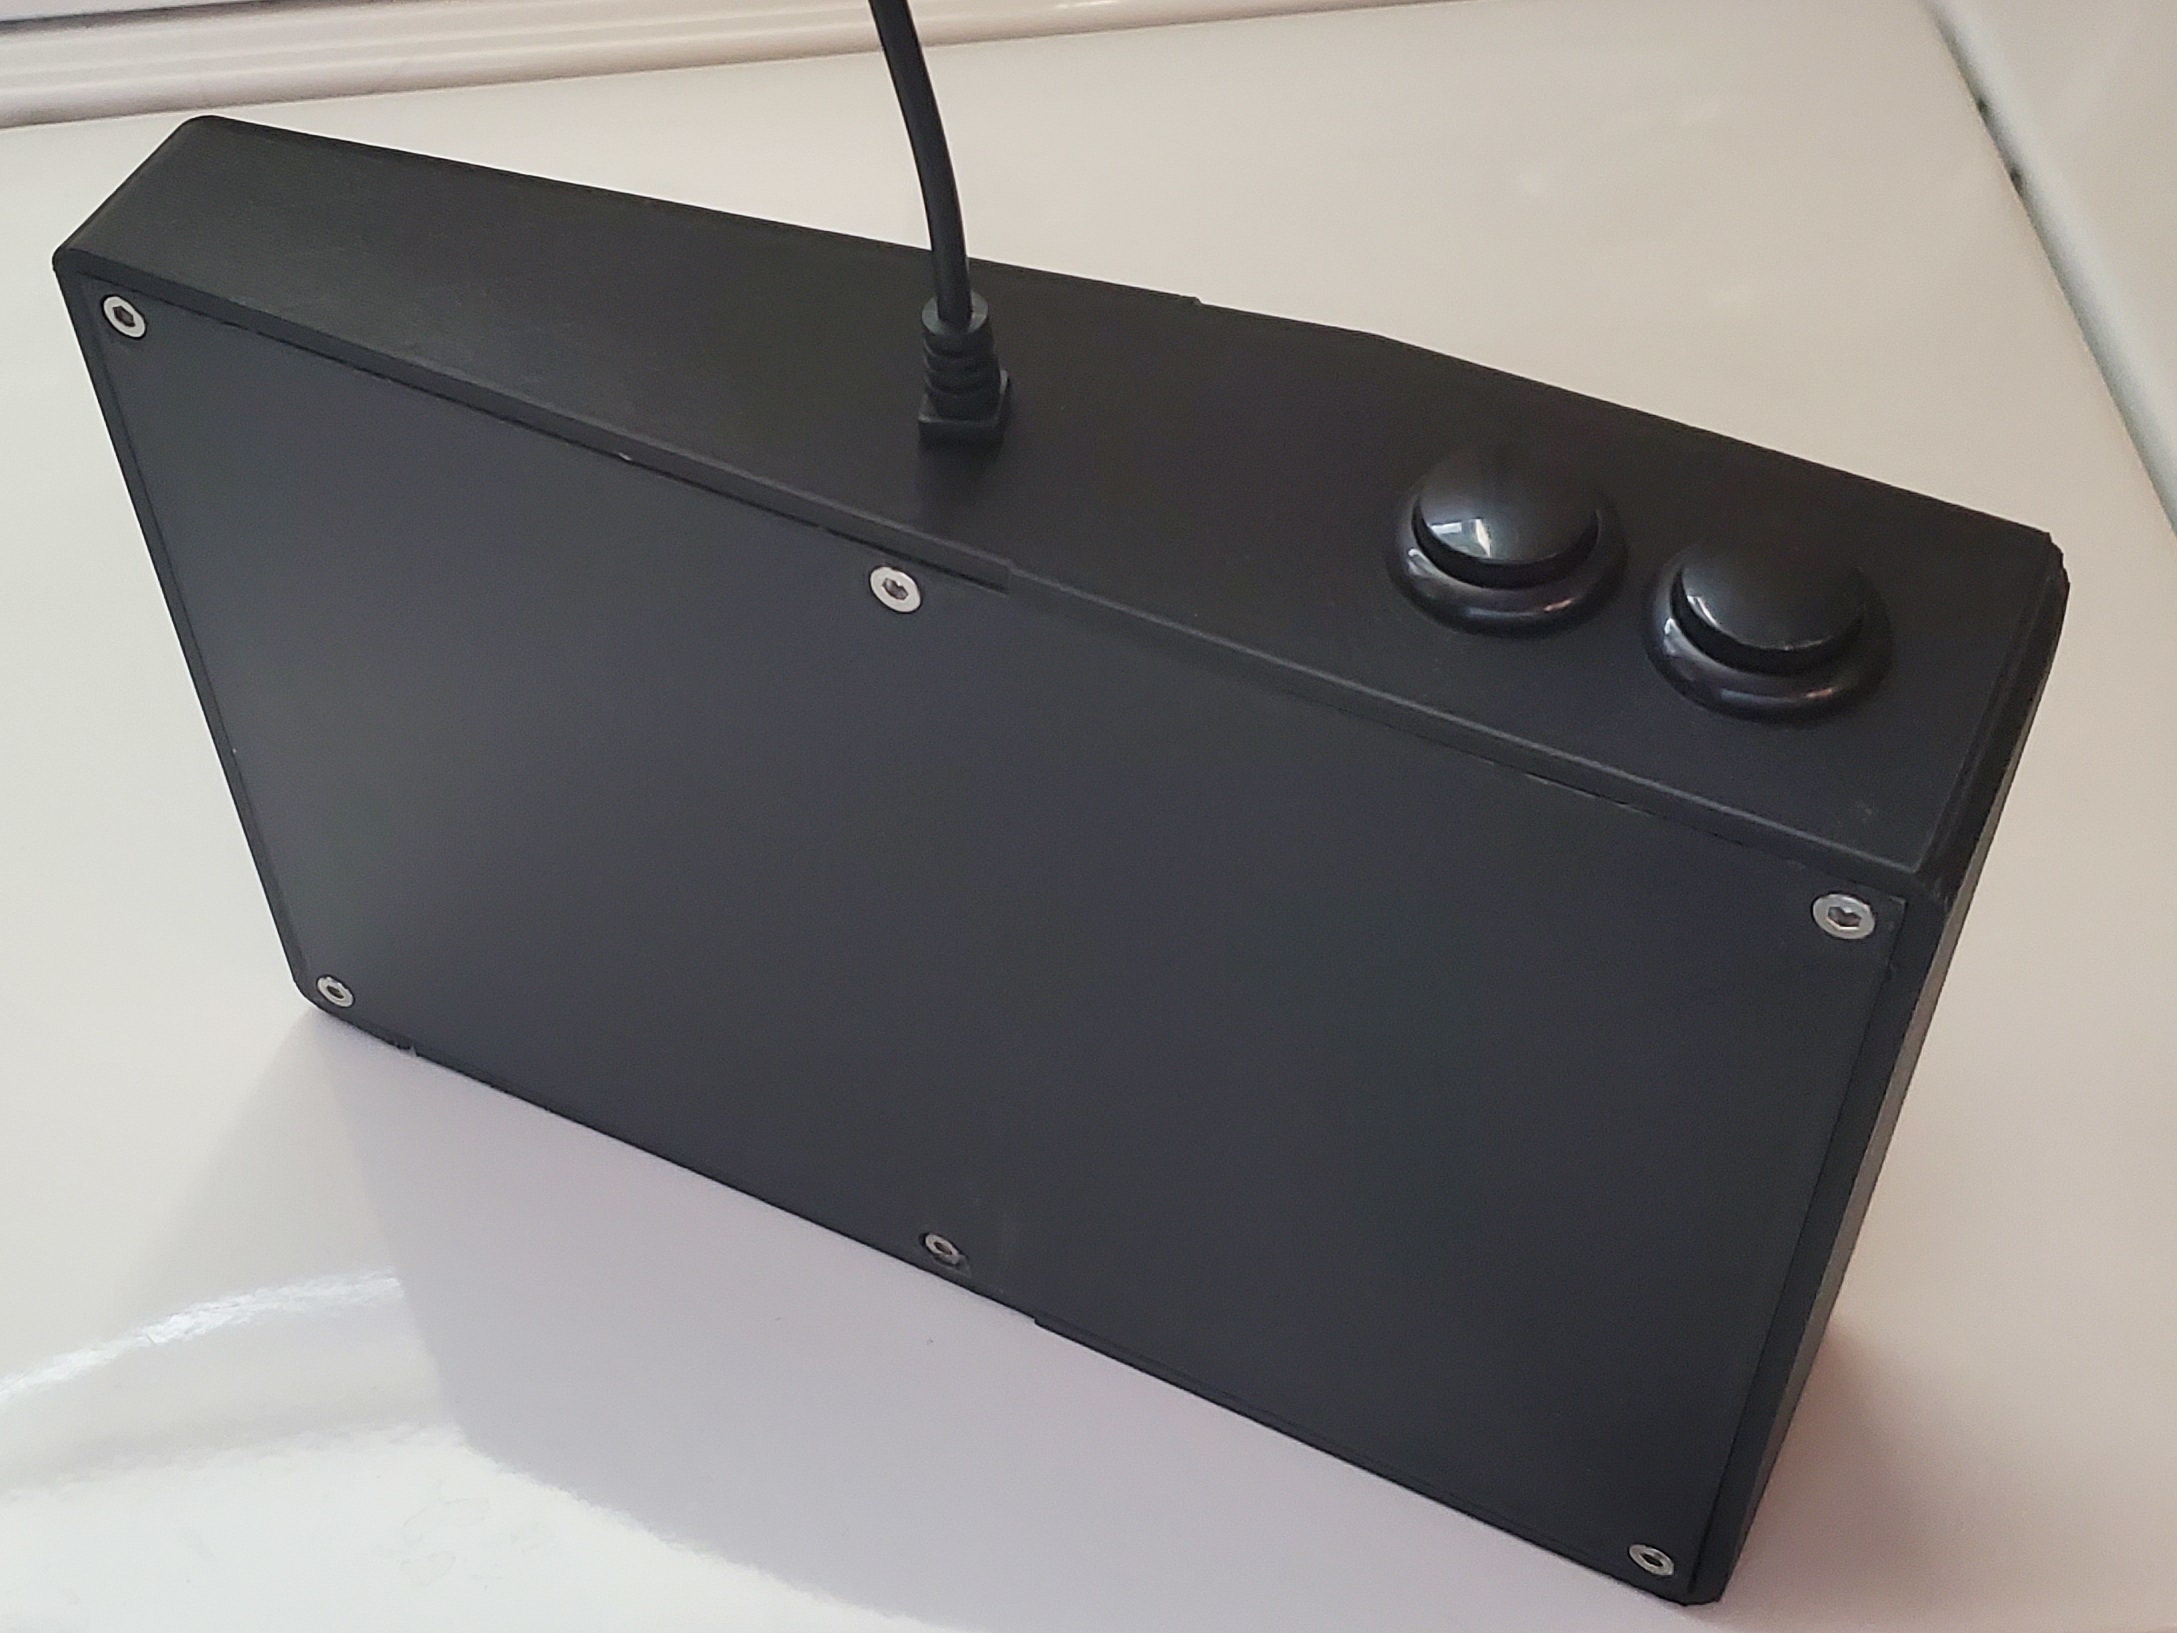
The bottom plate came out slightly too large causing a small layer split when installed, but once again it was perfectly functional for personal use. With the controller complete, I tested it for Street Fighter 6 on the PC and it worked great. The CAD model made using FreeCAD as well as all components used are in the resource links at the end of the article.
Resources#
CAD#
FreeCAD and STL files: download
Components Used#
Brook Universal Fight Board: AliExpress
10x 24mm Sanwa Buttons: AliExpress
1x 30mm Sanwa Button: AliExpress
Sanwa Arcade Stick Red Ball Top: Amazon
20x14 perfboard and mini screw terminals (optional)
10x M4 heat set inserts
10x M4 screws
4x washers
Zip ties for organization
USB cable, button wires/connectors, and black 24mm buttons used from this cheap kit but your own wire, broken out USB cable, and spade connectors or solder can be used instead.
Assembly Tips#
A 3D printer, filament of choice, and soldering equipment are required.
For wiring instructions see the Brook Product Page and connect P1-4 to the top row, K1-4 on the bottom row, and start/select to the buttons on the back. I connected the thumb button to L3 for custom binding in your game of choice.